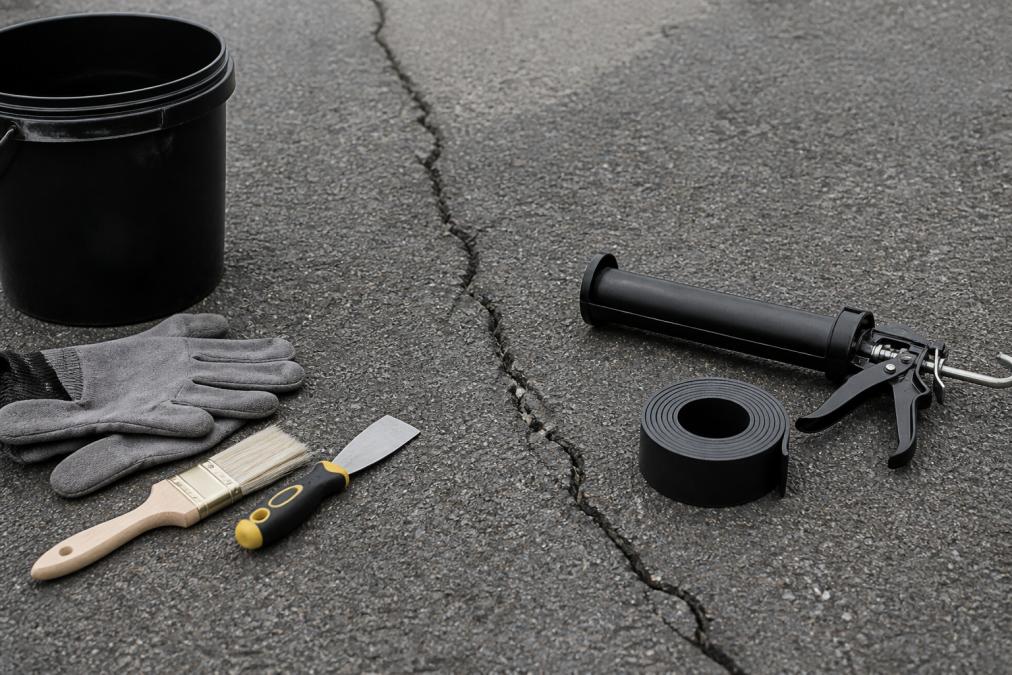
 listicle
7 Ways to Fix Small Asphalt Cracks
Table of Contents
- Why Small Cracks Need Immediate Attention
- Asphalt Driveway Crack Filler Types and How to Choose
- Method 1: Clean and Prepare the Crack Surface
- Method 2: Apply Liquid Crack Filler with a Caulking Gun
- Method 3: Use Cold Patch for Shallow Depressions
- Method 4: Install Rubberized Asphalt-Emulsion for Flexibility
- Method 5: Fill Deeper Cracks with Crack Routing
- Method 6: Apply Sealcoat for Preventative Maintenance
- DIY vs. Professional Repair: When to Call Houston Pavement Repair LLC
- Seasonal Timing and Temperature Requirements
- Environmental Impact and Eco-Friendly Alternatives
- Troubleshooting Failed Repairs
- When to Call a Professional
- Frequently Asked Questions
Last Updated: September 26, 2026
Why Small Cracks Need Immediate Attention
Small asphalt cracks are the first sign of pavement failure. Water seeps into hairline fractures, reaches the sub-base, and freeze-thaw cycles expand the moisture, widening cracks into potholes. A $50 repair becomes a $5,000 replacement within two years.
This guide covers seven proven methods to fix small asphalt cracks, from budget-friendly DIY options to professional-grade solutions that last.
According to the National Asphalt Pavement Association guidance on preventative maintenance, addressing surface cracks before they reach a quarter-inch deep prevents 80% of structural failures.
Asphalt Driveway Crack Filler Types and How to Choose
Before you grab a tool and start filling, understand what you're working with. Different crack widths and depths require different materials. Choosing the wrong filler wastes time and money, and the crack returns within months.
Liquid Crack Fillers
Liquid crack fillers work best for hairline cracks under an eighth of an inch wide. Red Devil 0637 Asphalt Crack Filler may require reapplication within one to three years due to thermal stress.
Sika Asphalt Sealant offers a permanently elastic formula that stays flexible through temperature shifts.
Cold Patch Materials
Cold patch asphalt comes ready to use: knead it, pack it into the crack, and tamp it down. It works for cracks one-quarter to half an inch wide and handles deeper damage that liquid fillers cannot bridge.
The main drawback: cold patch can be lumpy after curing and may need sanding for a smooth finish.
Rubberized Asphalt-Emulsion Sealants
Rubberized asphalt-emulsion combines liquid flow with patch durability, curing to a rubbery texture that absorbs thermal stress. Crack-Stix targets homeowners wanting professional results without hiring a contractor.
Rubberized emulsion typically lasts five to seven years compared to one to three years for basic liquid fillers.
Method 1: Clean and Prepare the Crack Surface
You cannot seal a dirty crack. Debris and loose asphalt prevent proper adhesion and determine whether your repair lasts six months or six years.
Start with a wire brush to scrub the crack walls and remove all loose material. Use a leaf blower or compressed air to blast out dust, or a shop vacuum for deeper cracks.
For cracks wider than a quarter inch, consider crack routing: cutting a uniform V-shaped or rectangular channel along the entire crack to create clean walls for the filler to bond to.
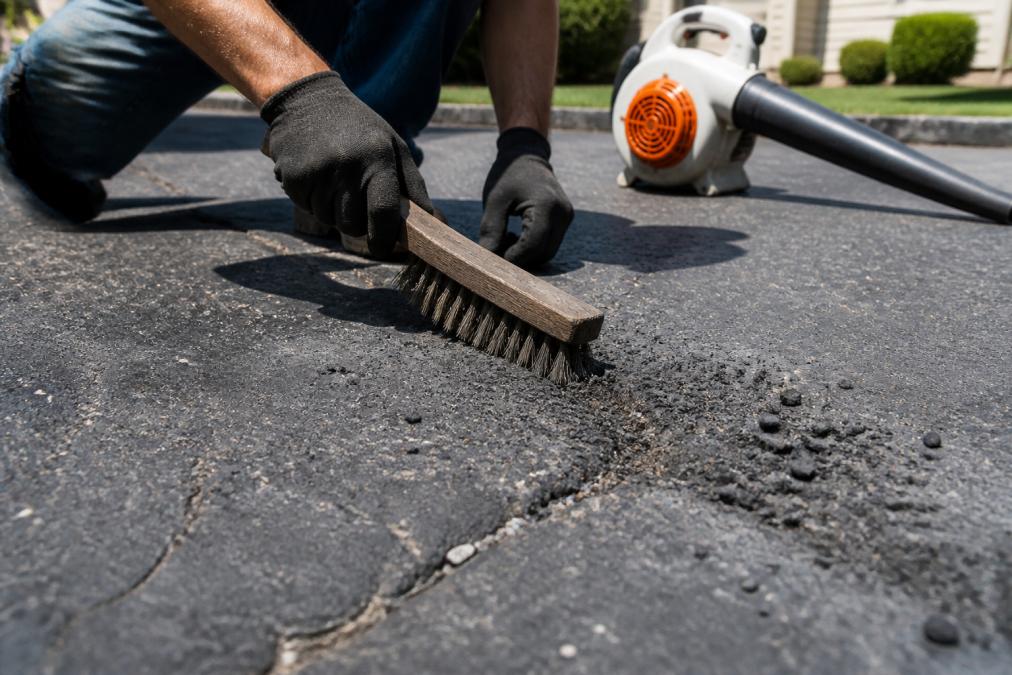
Once clean and dry, inspect the sidewalls and wire-brush again if crumbling. Wait at least two hours before applying filler, longer in humid weather.
Method 2: Apply Liquid Crack Filler with a Caulking Gun
Load your cartridge into a caulking gun, cut the tip at a 45-degree angle to match the crack width, and apply with consistent pressure along the entire length.
Fill slightly above the surface; most liquid fillers self-level. Curing time varies.
Apply liquid fillers when pavement temperature is between 50°F and 85°F. Check the product label for specific temperature requirements.
Thermal expansion and contraction stress the filler bond over time, causing cracks to reappear. Liquid fillers work best for hairline cracks in stable climates or as temporary solutions.
Method 3: Use Cold Patch for Shallow Depressions
Cold patch asphalt handles cracks wider than a quarter inch and shallow depressions where liquid filler cannot build thickness. The material comes pre-mixed and ready to use, no heating required.
Knead the material for 30 seconds, pack it firmly into the crack, and tamp down with a putty knife. Overfill slightly to achieve a smooth, level surface.
Cold patch hardens within 24 to 48 hours depending on humidity and temperature.
Cold patch doesn't bond as strongly as heated hot-mix materials, making it suitable for smaller repairs but not high-traffic areas.
Method 4: Install Rubberized Asphalt-Emulsion for Flexibility
Rubberized asphalt-emulsion products like Crack-Stix offer a middle ground between liquid fillers and cold patch. These materials flow like a liquid but cure to a rubbery, flexible texture that handles thermal expansion better than rigid alternatives.
Call now to schedule your free estimate →
Load the cartridge into a caulking gun and apply along the crack. Curing time ranges from four to eight hours, with full strength developing over 24 hours.
The flexible texture absorbs thermal cycling stress.
Rubberized products save money if you're repairing the same crack repeatedly.
Method 5: Fill Deeper Cracks with Crack Routing
Cracks deeper than half an inch need crack routing, which creates a uniform channel for proper filler adhesion.
Crack routing cuts a V-shaped or rectangular groove along the crack to create clean, straight walls at consistent depth, typically one-quarter to half an inch.
After routing, wire-brush to remove debris, blow out dust, and allow the surface to dry. Apply your chosen filler into the routed channel for better adhesion.
For very deep cracks or those running the full length of your driveway, professional routing may be worth the cost.
Method 6: Apply Sealcoat for Preventative Maintenance
Sealcoat is preventative maintenance that protects asphalt from UV damage, oxidation, and water infiltration. Applying it every two to three years extends pavement life by five to ten years.
Sealcoat is applied with a squeegee or sprayer and improves curb appeal by making old pavement look refreshed.
Apply sealcoat after repairing existing cracks to seal the repairs and protect surrounding pavement.
For property managers of commercial facilities, sealcoat is a cost-effective way to extend the life of parking lots and reduce emergency repairs. According to the American Society of Civil Engineers guidance on pavement lifecycle management, preventative sealcoat extends pavement service life by 25% to 50% compared to unprotected asphalt.
DIY vs. Professional Repair: When to Call Houston Pavement Repair LLC
DIY methods work for small cracks, but professional repair makes sense for multiple cracks, deep structural damage, or persistent moisture problems.
Driveways that crack repeatedly in the same spot often have drainage problems. Water pools beneath the surface and weakens the sub-base. Filling the crack without fixing drainage means it returns within months.
Professional repairs include proper surface preparation, moisture barriers, and materials engineered for your climate.
Consider professional repair if cracks reappear within one year, your driveway pools water, cracks exceed half an inch, or you have structural damage. For small, isolated hairline cracks, DIY methods work well.
Seasonal Timing and Temperature Requirements
Timing matters more than most DIYers realize. Asphalt expands and contracts with temperature. Applying filler in the wrong season or temperature range causes premature failure.
The ideal window for asphalt repair is spring through early fall, when temperatures are stable and moderate. Apply fillers when pavement temperature is between 50°F and 85°F. In winter, cold asphalt is brittle and won't accept filler properly.
Environmental Impact and Eco-Friendly Alternatives
Standard asphalt crack fillers contain bitumen and solvents that can leach into groundwater. For environmentally conscious property owners, eco-friendly alternatives exist.
Troubleshooting Failed Repairs
If your repair fails, the crack reopens, the filler pops out, or the repair surface cracks, common causes are identifiable and fixable.
| Repair Method | Best For | Curing Time | Durability | Cost |
|---|---|---|---|---|
| Liquid filler | Hairline cracks under 1/8" | 4-24 hours | 1-3 years | $15-30 |
| Cold patch | Cracks 1/4" to 1/2" wide | 24-48 hours | 1-2 years | $10-20 |
| Rubberized emulsion | Thermal stress areas | 4-8 hours | 5-7 years | $40-90 |
| Crack routing + filler | Deep cracks over 1/2" | Varies by filler | 3-5 years | $50-150 |
| Sealcoat | Preventative maintenance | 24-48 hours | 2-3 years | $0.50-1.50/sq ft |
| Professional repair | Complex/recurring damage | Varies | 5-10 years | $100+ per project |
When to Call a Professional
Small asphalt cracks are manageable with DIY methods, but professional expertise becomes essential when damage is extensive, recurring, or rooted in structural issues. Houston Pavement Repair LLC provides free estimates to assess your specific situation and recommend the most cost-effective solution.
Frequently Asked Questions
What is the best asphalt crack filler for residential driveways?
The best choice depends on crack width and your budget. Liquid fillers like Red Devil work well for hairline cracks under 1/4 inch. For slightly wider cracks, cold patch materials offer better fill capacity. Crack-Stix provides commercial-grade durability if you want a longer-lasting solution. Rubberized asphalt-emulsion sealants offer flexibility to handle thermal expansion, making them ideal for areas with temperature swings. Liquid fillers applied with a caulking gun deliver reliable performance on most residential driveways.
How long does asphalt crack filler take to dry?
Drying time varies by product type and weather. Liquid crack fillers typically cure in 24-48 hours under dry conditions, though you should avoid traffic for the first 24 hours. Cold patch materials may take 48-72 hours to fully harden. Rubberized asphalt-emulsion sealants often require 48-72 hours as well. Temperature and humidity affect all products, expect slower curing in cool, wet weather. Always check the manufacturer's label for specific curing times, as some products may be ready for light traffic sooner than others. Applying filler in warm, dry conditions accelerates the process.
Can I patch a small area of asphalt myself?
Yes, small cracks are ideal for DIY repair. You'll need basic tools: a wire brush, putty knife, caulking gun, and your chosen filler material. Start by cleaning out debris and moisture from the crack using a wire brush and leaf blower. Apply filler with a caulking gun, smooth it with a putty knife, and let it cure per the product instructions. Most homeowners can complete a small repair in under an hour. The key to success is proper surface preparation and choosing the right filler type for your crack width. Avoid common mistakes like applying filler to wet cracks or skipping the cleaning step.
When should I call a professional for asphalt repair?
Call a professional if cracks are wider than 1/2 inch, if multiple cracks form a pattern (alligator cracking), if water pools around the damaged area, or if repairs keep failing in the same spots. Structural issues like sinking sub-base or poor drainage require professional assessment and equipment. If your driveway has extensive damage, flooding problems, or you're unsure about the root cause, professional evaluation saves money by addressing the underlying problem rather than patching symptoms. Professionals can identify moisture infiltration, compaction issues, and other structural concerns that DIY methods won't fix. For complex or recurring problems, expert diagnosis prevents costly repeat repairs.