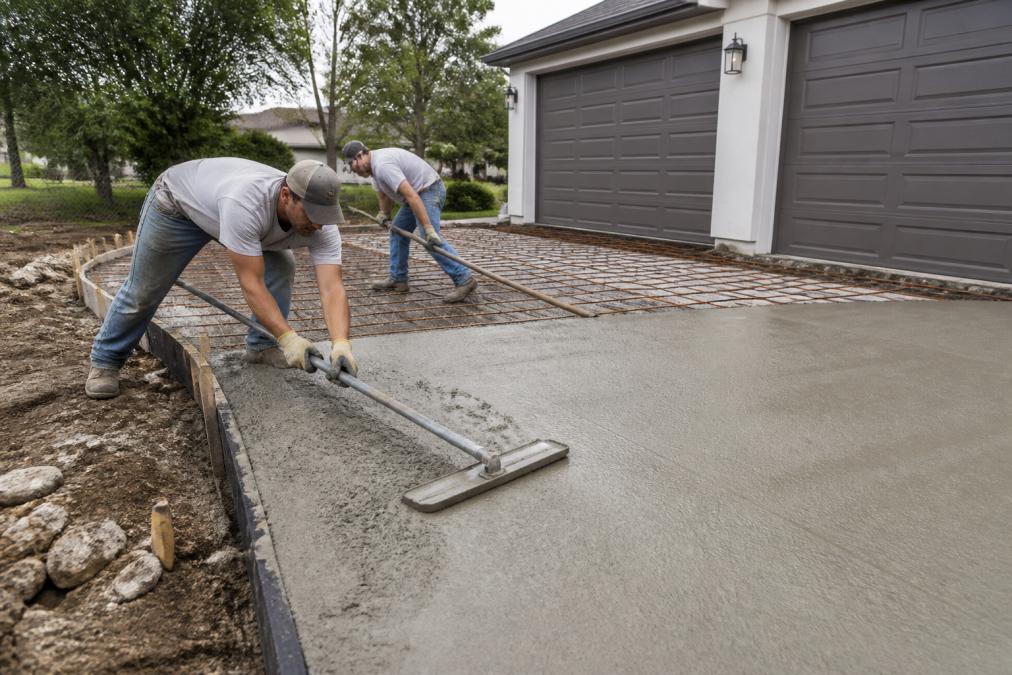
 how-to
How to Install a Concrete Driveway: Step-by-Step
Table of Contents
- Permits and Local Ordinances
- Planning and Site Layout for Your Concrete Driveway
- Tools Needed for Concrete Driveway Installation
- Excavation and Site Preparation
- Sub-Base Installation and Compaction
- Formwork, Reinforcement, and Concrete Driveway Thickness Requirements
- Pouring, Finishing, and Concrete Driveway Curing Time
- Post-Installation Maintenance and When to Call for Professional Concrete Driveway Repair Cost Estimates
- Frequently Asked Questions
Last Updated: September 25, 2026
Permits and Local Ordinances
Check with your local building department before starting work. Most areas require permits for driveway installation, involving site plan submission and approval before you begin.
Your city or county sets specific requirements for setbacks, slope, and drainage to prevent water damage. Violations can result in fines or orders to remove and reinstall completed work.
Call your local building department or visit their website. Ask about:
- Permit requirements for concrete driveways
- Setback distances from property lines
- Minimum and maximum slope requirements
- Drainage compliance standards
- Inspection checkpoints during installation
Some jurisdictions require inspections after excavation, sub-base installation, and curing. Plan for these in your timeline.
Planning and Site Layout for Your Concrete Driveway
Measure your driveway area carefully, noting length, width, slopes, and irregular shapes. Learning how to install a concrete driveway step by step starts with understanding that a typical residential driveway is 10-12 feet wide and 20-30 feet long.
Mark the edges of your future driveway with chalk or spray paint. Walk the area and look for obstacles: utility lines, drainage areas, or trees. Call 811 before you dig to locate underground utilities.
Concrete driveways need a slope of about 1-2% away from structures to shed water. For every 50 feet of length, the surface should drop 6-12 inches. Without proper slope, water pools and causes cracks, scaling, and premature failure.
Sketch your layout on paper:
- Mark the house and garage
- Outline the driveway boundaries
- Note the direction water will flow
- Identify any low spots that need fill
Check existing drainage patterns. Poor drainage will destroy a new driveway, so address drainage issues before pouring.
Tools Needed for Concrete Driveway Installation
Excavation and site prep:
- Shovel and wheelbarrow
- Mattock or pickaxe (for breaking up soil)
- Hand tamper or plate compactor (for compacting sub-base)
- Level (4-6 feet long, for checking slope)
Formwork:
- Circular saw (for cutting lumber)
- Hammer or pneumatic nailer
- Level (to ensure forms are straight)
- Measuring tape (25-50 feet)
- Wooden stakes and 2x4 boards (for forming edges)
Concrete work:
- Wheelbarrow or concrete mixer (for mixing small batches)
- Shovel (for spreading concrete)
- Bull float or hand float (for smoothing the surface)
- Broom (for creating non-slip texture)
- Trowel (for finishing edges)
- Concrete saw or angle grinder (for cutting control joints)
- Curing compound or plastic sheeting (for protecting concrete during curing)
Safety gear:
- Work gloves and steel-toed boots
- Eye protection
- Dust mask (for dry concrete dust)
- Knee pads (for kneeling work)
Rent a plate compactor and concrete mixer from a local equipment rental shop rather than buying.
Excavation and Site Preparation
Clear vegetation, debris, and loose soil down to firm, undisturbed soil.
Excavate to the proper depth. For a typical residential driveway, you'll need:
- 4 inches of concrete
- 4-6 inches of sub-base material (crushed stone or gravel)
- Total excavation depth: 8-10 inches
Use a shovel for small areas or rent a small excavator for larger driveways.
Remove loose soil, roots, and organic material. Compact the exposed soil with a plate compactor. Soft soil settles unevenly, causing cracks in the concrete.
Check the slope as you excavate. The bottom of your excavation should slope away from structures at about 1-2%. Use a level and measure as you work.
Sub-Base Installation and Compaction
The sub-base distributes weight, allows drainage, and prevents frost heave. Never skip this step.
Spread 4-6 inches of screened crushed stone or gravel over compacted soil. Dust and fines trap water and weaken the base.
Call now to schedule your free estimate →
Compact the sub-base thoroughly with a plate compactor. Make multiple passes, overlapping each pass slightly.
Formwork, Reinforcement, and Concrete Driveway Thickness Requirements
Build forms from 2x4 lumber along the edges of your driveway. Forms hold the concrete in place while it sets and define the finished surface.
Pouring, Finishing, and Concrete Driveway Curing Time
Selecting the Right Concrete Mix Design
Order concrete from a ready-mix supplier, specifying strength (PSI) and additives based on your climate and traffic patterns.
Climate-based PSI selection:
- Warm, dry climates: 3,000-3,500 PSI is adequate.
- Cold climates with freeze-thaw cycles: 4,000-4,500 PSI resists internal stress from freezing water.
- High-traffic areas: 4,000+ PSI for better durability.
Critical additives for residential driveways:
Pouring Technique and Avoiding Common Mistakes
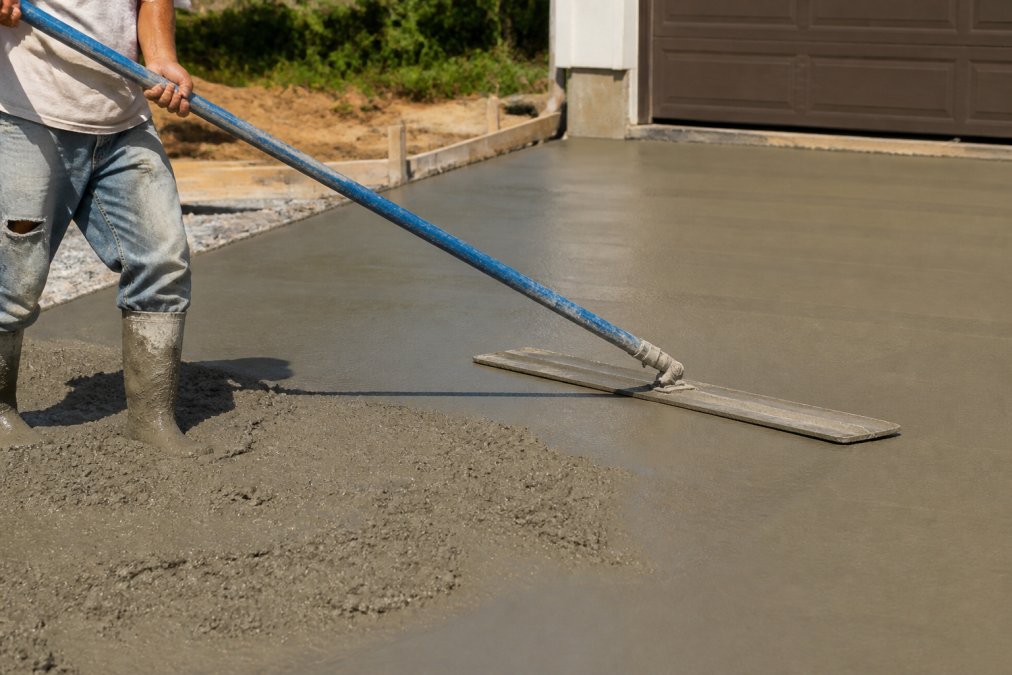
When you follow how to install a concrete driveway step by step, plan your team and workflow before the concrete truck arrives, as you have a narrow window to pour and finish.
Receiving the concrete:
- Have forms, reinforcement, and finishing tools ready.
- Ensure truck access (typically 35-40 feet long). Blocked access forces wheelbarrowing, causing segregation.
- Have 2-3 helpers on site.
Curing: The Critical Phase Most DIYers Rush
Curing determines final strength and durability. Concrete reaches 70% strength in 7 days and full strength at 28 days.
Curing timeline:
- First 24 hours: Protect from rain and foot traffic.
- Days 2-7: Keep moist by spraying water twice daily or covering with plastic. Wet curing accelerates strength and reduces cracking.
- Days 7-28: Continue misting or plastic coverage. Light foot traffic allowed after 3-5 days; driving after 7 days.
- After 28 days: Full strength reached. Apply sealer or expose to heavy loads. Maintaining this pristine surface requires vigilance against spills, as removing oil stains becomes significantly more difficult once they penetrate the pores of the fully cured concrete.
Post-Installation Maintenance and When to Call for Professional Concrete Driveway Repair Cost Estimates
Troubleshooting Common DIY Pouring Mistakes
Problems that appear in the first few weeks after pouring are usually caused by mistakes during installation or curing. Identifying and understanding these issues helps you prevent them on future projects and decide whether repair is necessary.
Long-Term Maintenance Schedule
Year 1 (after 28-day cure):
- Apply concrete sealer to protect from water, oil, and UV damage. Reapply every 2-3 years.
- Keep the surface clean. Remove leaves, dirt, and debris promptly.
- Avoid heavy loads during the first year.
Years 2-5:
- Inspect quarterly for cracks, scaling, or staining.
- Clean oil spills immediately with degreaser.
- Reapply sealer every 2-3 years or when water no longer beads on the surface.
- Fill small cracks with concrete crack filler.
Winter maintenance (freeze-thaw climates):
- Avoid rock salt. Use sand, calcium chloride, or magnesium chloride instead.
- Remove snow and ice promptly.
- Inspect in spring for scaling or spalling.
Years 5+:
- Continue quarterly inspections and sealing every 2-3 years.
- Watch for cracks wider than 1/4 inch, significant scaling, potholes, or settlement.
- Address small problems early to prevent costly repairs later.
When to Seek Professional Assessment
Watch for these warning signs:
- Large cracks (wider than 1/4 inch) or cracks that continue to widen
- Significant scaling or spalling (more than 10% of the surface)
- Potholes or chunks missing
- Widespread settlement (more than 1/2 inch over 10 feet)
- Water pooling that cannot be resolved by grinding
- Cracks that form repeatedly in the same location
These indicate problems with the sub-base, drainage, or concrete mix. A professional can identify the root cause and recommend cost-effective repair or replacement.
Frequently Asked Questions
How thick should a concrete driveway be?
Residential concrete driveways typically require 4 to 6 inches of thickness. The exact concrete driveway thickness requirements depend on soil conditions, climate, and expected vehicle weight. Areas with freeze-thaw cycles or heavy clay soils may need the full 6 inches. A proper sub-base layer of 4 to 6 inches of compacted crushed stone beneath the concrete adds structural support and improves drainage, preventing premature failure.
How long does it take for a new concrete driveway to cure?
Concrete driveway curing time typically spans 28 days for full strength development, though you can drive on it lightly after 7 days. Weather conditions affect concrete driveway curing time significantly. Cool, moist conditions slow the process, while hot, dry weather can cause surface cracking if the concrete dries too quickly. Apply a curing compound or keep the surface damp for the first week to ensure proper hydration and minimize cracking.
Do I need a permit to install a concrete driveway?
Most municipalities require a permit for concrete driveway installation. Permits ensure your project meets local zoning codes, drainage requirements, and property line setbacks. Contact your local building department or code enforcement office before starting work. Failing to obtain required permits can result in fines and complications when selling your property. The permit process typically takes 1 to 2 weeks and involves a site inspection.
What is the best base material for a concrete driveway?
Crushed stone or gravel is the best base material for concrete driveways. A 4 to 6-inch layer of compacted crushed stone provides drainage, prevents settling, and distributes vehicle weight evenly. Proper compaction is critical, use a plate compactor to achieve 95% density. This sub-base layer prevents water from pooling beneath the concrete, reducing freeze-thaw damage and extending the life of your driveway.