 how-to
How to Maintain Asphalt Driveway in Summer: 2026 Guide
Table of Contents
- Summer Heat and Your Asphalt Driveway: What You're Up Against
- Step 1: Inspect for Surface Wear, Cracks, and Fading
- Step 2: Asphalt Driveway Crack Repair Before Damage Spreads
- Step 3: How to Remove Oil Stains From Asphalt
- Step 4: Asphalt Sealcoating Benefits and When to Apply
- Step 5: Manage Heavy Traffic, Weight, and Heat Damage
- DIY vs. Professional Equipment: What You Can Handle Safely
- Seasonal Maintenance Checklist and Heat-Specific Troubleshooting
- Frequently Asked Questions
Last Updated: October 2, 2026
Summer Heat and Your Asphalt Driveway: What You're Up Against
Asphalt driveway maintenance in summer comes down to one hard truth: heat is both your surface's biggest threat and your best window for repairs. This guide from Houston Pavement Repair LLC covers a five-step summer routine that keeps small flaws from becoming full replacements.
Here's the key fact most homeowners miss. Asphalt is a mix of aggregate (stone and sand) held together by a binder, and that binder softens as pavement temperature climbs. According to the Federal Highway Administration's asphalt materials research, sun exposure and heat drive oxidation, the chemical aging process that hardens and brittles the binder over time. When the binder fails, the surface loses flexibility, and cracks appear. Then water gets in, and the real damage begins.
Why Oxidation Accelerates in High Temperatures
Oxidation is the slow breakdown of asphalt's binder when it reacts with oxygen and UV rays. Heat speeds up that reaction. A driveway that stays cool most of the year still ages faster when it bakes in direct sun for months.
The visible signs show up in a predictable order:
- Fading color, from deep black to gray
- A dry, rough surface texture
- Fine hairline cracks
- Larger cracks and crumbling edges
Once the surface turns gray and porous, water no longer sheds cleanly. It soaks into the sub-base, softens the soil underneath, and turns a cosmetic problem into structural damage.
Step 1: Inspect for Surface Wear, Cracks, and Fading
Inspect your driveway on a dry, mild morning, before the sun softens the surface.
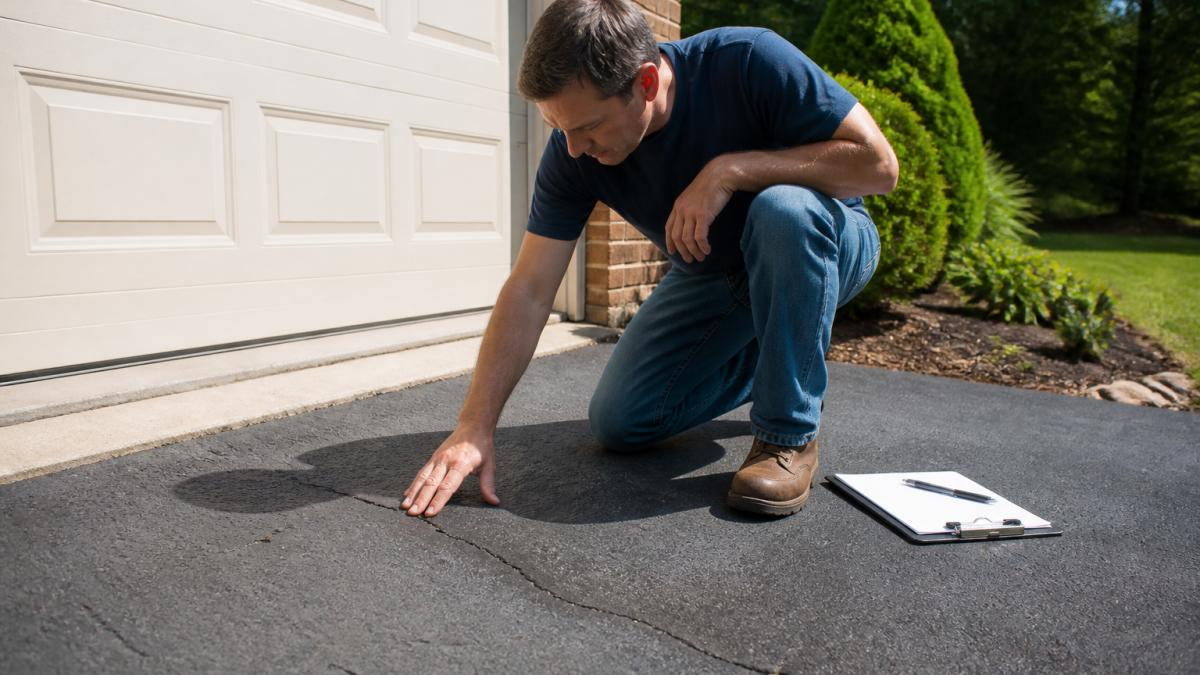
Mark problem areas with chalk to track them across the season. A common mistake is checking only the middle of the driveway, edges dry out faster because they lose heat and moisture, so they crack sooner.
Check these five things every time:
- Color: gray means the binder is aging
- Cracks: note width and length
- Pools: water sitting more than a day points to a drainage issue
- Soft spots: a screwdriver sinks in easily where the base is failing
- Edges: crumbling here signals water getting under the surface
Step 2: Asphalt Driveway Crack Repair Before Damage Spreads
Asphalt driveway crack repair works best in warm, dry weather, when the pavement is clean and free of standing water. Seal cracks before they widen, because every extra inch of width lets in more water and speeds up the damage underneath.
Filling Hairline Cracks vs. Structural Breaks
Hairline cracks, under about a quarter inch wide, are a DIY job. Clean them out, then fill with a pourable asphalt emulsion crack filler. Structural breaks, wider than half an inch or running in connected patterns, usually point to a failing sub-base. Filling those without fixing the base is a temporary patch that will reopen.
Here's the sequence that holds up:
- Clear loose debris and grass from the crack with a wire brush.
- Blow or sweep out dust so the filler bonds.
- Apply crack filler and overfill slightly.
- Let it cure, then tamp it level with the surface.
- Keep traffic off until the filler sets, which can take a day or more in cooler weather.
Step 3: How to Remove Oil Stains From Asphalt
To remove oil stains from asphalt, act fast and use an absorbent first, not water. Water spreads oil into the pores and makes the stain worse.
For older stains, apply a commercial asphalt-safe degreaser, scrub with a stiff brush, and rinse, repeating if the stain soaked deep. Harsh solvents strip the binder along with the oil, so stick to products labeled for asphalt.
Step 4: Asphalt Sealcoating Benefits and When to Apply
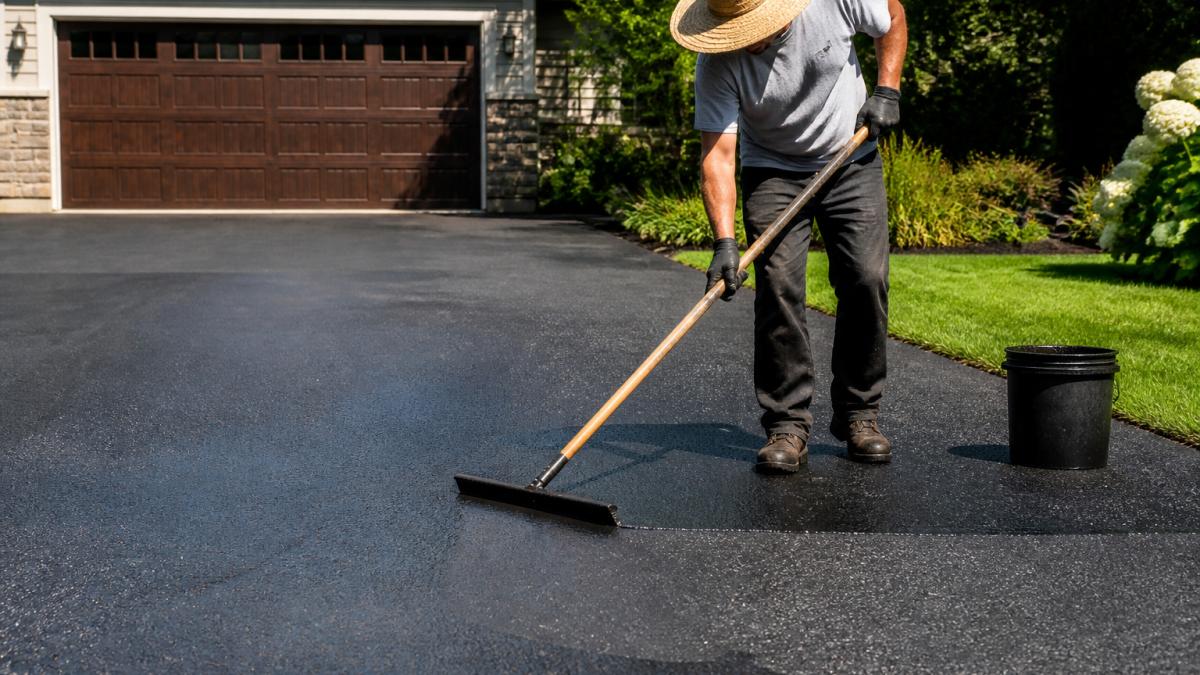
Asphalt sealcoating benefits come down to protection: a fresh seal coat blocks UV rays, keeps water out, and slows oxidation. But which sealant you buy and when you apply it determine whether it performs.
Choosing the Right Sealant for Summer Heat
Sealants fall into two main families, and they behave differently above 100°F:
- Coal tar-based sealers resist fuel and oil spills better and hold up to water exposure, but they soften more in extreme heat and can track onto tires if applied too thick. Many municipalities restrict coal tar because of polycyclic aromatic hydrocarbon (PAH) runoff, so check local stormwater rules before buying.
- Asphalt-based (emulsion) sealers are more flexible in high heat and are the common choice in hot, sunny climates. They resist ultraviolet fading well but offer less fuel-spill resistance than coal tar.
- Acrylic and latex-modified sealers are the eco-friendly option: lower volatile organic compound (VOC) content, less odor, and no coal tar runoff. They cost more per gallon and wear faster under heavy traffic, so they suit low-traffic residential driveways best.
A simple rule: in hot, dry regions with long sun exposure, lean toward an asphalt-emulsion or acrylic sealer that stays flexible. In wetter regions with fuel-spill exposure, coal tar's chemical resistance may win, if local rules allow it.
Temperature and Timing Windows
Sealant needs to cure, not bake. The practical window is air temperatures between roughly 55°F and 90°F with dry pavement. Above about 90°F, the water carrier evaporates too fast, the film skins over before it levels, and you get lap marks, bubbles, and uneven color; below 55°F, curing stalls.
- Best conditions: warm, dry, low humidity, light breeze, morning application so the surface has hours to cure before peak heat
- Worst conditions: peak afternoon heat above 90°F, rain within 24 to 48 hours, high humidity that slows curing
- New asphalt: wait several months, often a full season, for the binder to cure before sealing
- Existing driveways: reseal every two to three years, or sooner if the surface looks dry and gray
Surface Prep Decides the Outcome
Sealer bonds to what's underneath it. Skip these steps and the coat peels within a season:
Call now to schedule your free estimate →
- Repair cracks and potholes first, sealer is not a filler.
- Clean the surface of oil, dirt, and loose aggregate.
- Kill and remove weeds growing in cracks.
- Let the pavement dry completely after washing.
- Apply two thin coats rather than one thick coat; thick coats stay soft and track.
DIY vs. Professional Sealcoating
Sealcoating is one of the few summer tasks where the DIY-versus-pro line is genuinely blurry. A homeowner with a squeegee, a clean surface, and a mild forecast can get a decent result on a small driveway, but DIY rarely matches even coverage across a large area, proper surface prep, or the ability to spot a failing base before coating over it.
Step 5: Manage Heavy Traffic, Weight, and Heat Damage
Heavy traffic and weight cause the most damage when the surface is hottest. Soft asphalt under a loaded trailer or delivery truck can rut and shove, and those ruts collect water.
Heat damage shows up as ruts, shoving, and tire marks. To limit it:
- Park in the shade or on a pad where possible
- Avoid turning the steering wheel while the car is stationary
- Spread heavy loads over a wider area with plywood during projects
Traffic load and temperature work together: a driveway that handles a pickup fine in winter can rut under the same truck in August. If you manage a parking lot, route heavy equipment to cooler morning hours and keep drainage clear.
DIY vs. Professional Equipment: What You Can Handle Safely
Some summer tasks are safe to do yourself, and some need professional equipment. Crack filling and stain removal are DIY-friendly. Sealcoating, pothole repair, and anything involving the sub-base are usually not.
| Task | DIY or Pro | Why |
|---|---|---|
| Hairline crack filling | DIY | Simple tools, low risk |
| Oil stain removal | DIY | Cleaner and brush only |
| Sealcoating | Pro | Needs spray gear and even coverage |
| Pothole repair | Pro | Requires compaction and base work |
| Drainage fixes | Pro | Involves grading and sub-base |
Professional crews bring compaction equipment, hot-mix materials, and the experience to spot a failing base before they coat over it. That matters most when the same spots keep cracking.
If the same crack reopens every year, stop patching it. The fix is in the base and drainage, not the surface.
Seasonal Maintenance Checklist and Heat-Specific Troubleshooting
Use this checklist through the summer to stay ahead of heat damage. A little preventative maintenance in June saves a full resurfacing later.
- Inspect the full driveway monthly for new cracks
- Fill hairline cracks before they widen
- Remove oil stains within a day of the spill
- Clear drainage paths so water runoff moves off the surface
- Keep heavy vehicles off during peak heat
- Schedule sealcoating in mild, dry weather
- Watch for soft spots and ruts after heavy rain
- Check edges and the apron after every major storm
Heat-Specific Troubleshooting: What to Do When the Surface Misbehaves
The real test comes during a heatwave, when asphalt behaves like a different material.
Shoving and rippling. Shoving, the wavy displacement of asphalt under tires, happens when soft pavement is pushed sideways by turning or braking forces.
Fading and oxidation. Gray, chalky color means the binder is aging. Sealcoating restores UV protection, but only after cracks and drainage are addressed.
When to Call a Professional
Some heat damage is cosmetic and some is structural. Call a pro when:
- The same crack reopens every year
- Soft spots persist after the pavement cools
- Ruts are deeper than about an inch
- Water pools against the foundation or in the same spot after every rain
- The base feels spongy underfoot
Those signs point to a sub-base or drainage failure, and no amount of surface sealing will fix them. For bigger jobs, or when the same damage keeps coming back, professional help is the safer call. Houston Pavement Repair LLC handles asphalt and concrete paving and repair for homes and businesses, with a free estimate to start. If your driveway floods every time it rains, fixing the drainage at the source is what stops the cycle.
Frequently Asked Questions
Does asphalt soften in extreme summer heat?
Yes. Asphalt is a viscoelastic material, meaning it softens as temperatures climb. When surface temperatures exceed roughly 120°F, the binder that holds aggregate together becomes pliable. Heavy vehicles or sharp objects can then leave ruts and depressions that harden into permanent damage once the pavement cools. Parking in the same spot every day accelerates this. If you notice tire indentations forming, shift parking positions and schedule a sealcoat before the next summer.
What are the signs that my asphalt driveway needs professional repair?
Watch for cracks wider than a quarter inch, multiple potholes, standing water after rain, and crumbly edges along the driveway perimeter. Fading color and exposed aggregate signal that the binder has worn away. If cracks spiderweb across a large area or the surface feels spongy underfoot, the sub-base may be failing. Those conditions need a professional assessment rather than a patch kit, because surface repairs alone will not fix a structural problem underneath.
Should I water down my asphalt driveway on hot days?
Watering does not meaningfully cool asphalt because the surface temperature rebounds within minutes. It can also worsen oxidation by creating thermal shock when cool water hits hot pavement. A better approach is to keep heavy loads off the driveway during peak afternoon heat, apply a fresh sealcoat to reflect some solar energy, and address cracks before they let water reach the sub-base. If your driveway already shows heat damage, a professional evaluation is the safer route.
What is the best time of year to sealcoat a driveway?
Late summer and early fall work well in most of the country because temperatures stay above 55°F overnight and humidity is lower, which helps the sealant cure evenly. Avoid applying sealcoat when rain is forecast within 24 hours or when surface temperatures exceed 90°F, since the emulsion can dry too fast and leave streaks. For asphalt sealcoating benefits to last, plan the application after you have completed crack filling and oil stain removal.
Summer heat exposes every weak spot in an asphalt driveway, and patching the same crack year after year won't fix what's happening underneath. Houston Pavement Repair LLC offers expert asphalt and concrete paving and repair, with a focus on finding the root cause instead of applying temporary fixes. Request your free estimate and get a surface solution built to last through the heat. Call now to schedule your free estimate.