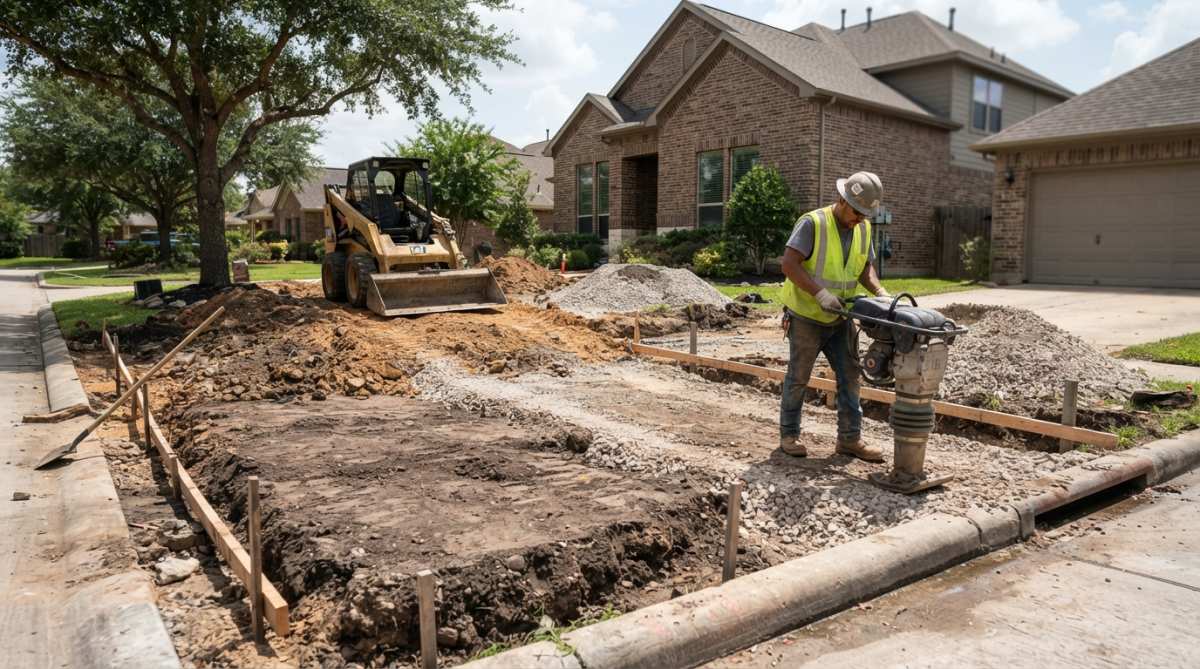
 how-to
How to Prepare Ground for New Driveway
Table of Contents
- Step 1: Clear the Site and Remove Topsoil
- Step 2: Determine Driveway Sub-Base Depth Requirements
- Step 3: Excavate to Proper Depth and Grade the Subgrade
- Step 4: How to Compact Driveway Soil Correctly
- Step 5: Install Geotextile Fabric and Aggregate Base Layers
- Step 6: Plan Drainage and Slope Management
- How Long Does Asphalt Paving Last After Proper Ground Preparation
- Common Mistakes to Avoid When Preparing Driveway Ground
- Frequently Asked Questions
Last Updated: September 23, 2026
Step 1: Clear the Site and Remove Topsoil
Understanding how to prepare ground for new driveway starts with clearing away all vegetation and removing the existing topsoil. This isn't optional, it's the foundation of everything that follows.
Start by removing trees, shrubs, grass, and any organic debris from the site. Use a bulldozer or excavator for large areas. For smaller driveways, a shovel and wheelbarrow work fine. The goal is a bare surface with no roots or plant material left behind.
Next, remove the topsoil layer. Topsoil is dark, nutrient-rich, and contains organic material, exactly what you don't want under a driveway. Excavate 4-6 inches of topsoil and haul it away or stockpile it for landscaping elsewhere.
Why does this matter? Organic material breaks down over time, creating voids beneath your pavement. Those voids cause settling, cracking, and premature failure.
After removing the topsoil, grade the exposed subgrade roughly level. You don't need perfection yet, that comes next.
Step 2: Determine Driveway Sub-Base Depth Requirements
The driveway sub-base depth depends on several factors: local soil conditions, climate, vehicle weight, and rainfall patterns. Getting this right prevents future problems and is one of the most overlooked diagnostic steps in driveway preparation. Establishing a stable foundation requires careful attention to broader land preparation steps that ensure long-term structural integrity across the entire site.
For residential driveways in most areas, a total sub-base depth of 4-6 inches works well. This includes compacted soil preparation plus aggregate layers. In areas with heavy clay soil or poor drainage, 6-8 inches is better. Commercial or heavily trafficked areas may need 8-10 inches.
Perform a Simple Soil Drainage Test
Before finalizing your sub-base depth, test your soil's drainage characteristics. This 10-minute DIY test reveals whether you have clay-heavy, sandy, or loamy soil, information that directly affects your base layer thickness and drainage strategy.
- Dig a hole 12 inches deep and 6 inches wide in an undisturbed area of your driveway site.
- Fill the hole with water and let it drain completely. Record the time.
- Refill the hole and measure how many inches of water drain in one hour.
Interpreting your results:
- Less than 1 inch per hour: Clay-heavy soil with poor drainage. Increase your sub-base depth to 6-8 inches and plan for a subsurface drainage pipe or permeable aggregate layer beneath your base.
- 1-3 inches per hour: Loamy soil with moderate drainage. Standard 4-6 inch depth works well.
- More than 3 inches per hour: Sandy soil with excellent drainage. A 4-inch depth is typically sufficient, but ensure proper slope to prevent water from pooling on the surface.
This test is especially valuable in clay-heavy regions or areas with seasonal water tables. Many driveway failures stem from inadequate drainage planning, and this simple test prevents costly mistakes before you pour money into aggregate and paving.
Check Local Building Codes and Zoning Laws
Many municipalities specify minimum sub-base requirements in their building codes. Call your local building department or check their website before starting excavation. Some areas have specific standards for driveway construction, aggregate type, or drainage features. Building code violations can force you to redo the work at your expense.
Account for Soil Type and Climate
Clay soil holds water and shifts with freeze-thaw cycles, requiring deeper preparation and better drainage. Sandy soil drains quickly but compacts less effectively, sometimes requiring a stabilizing binder in the base layer. Loamy soil is ideal and requires standard preparation.
In freeze-thaw climates (northern regions experiencing winter temperatures below 32°F), water infiltration causes accelerated deterioration. Increase your sub-base depth by 1-2 inches and prioritize drainage management.
The driveway sub-base depth also depends on how much weight the surface will carry. A residential driveway handles cars and light trucks. A commercial lot needs deeper preparation for delivery trucks and constant traffic.
Step 3: Excavate to Proper Depth and Grade the Subgrade
Excavation depth is critical. Dig down to your target sub-base depth, typically 4-6 inches below finished grade for residential work. Use a backhoe or excavator for efficiency.
As you excavate, watch for soft spots, standing water, or unusual soil conditions. These signal drainage problems that need fixing now, not after paving.
Once excavated, grade the subgrade carefully. The subgrade is the compacted soil layer that forms your foundation. It should slope slightly for drainage, typically 1-2% grade (about 1/8 inch per foot of width). This prevents water from pooling on your driveway.
Use a laser level or transit to check slopes. A slight camber (crown) down the center works well for residential driveways. For parking lots, slope toward drainage ditches or storm drains.
Remove any rocks larger than 2 inches, roots, or debris from the excavated area. These create weak spots that cause cracking later. The subgrade surface should be firm and relatively smooth, not perfectly smooth, but free of large voids or hard spots.
Step 4: How to Compact Driveway Soil Correctly
Proper compaction is non-negotiable. Loose soil settles under traffic, causing your driveway to crack and fail prematurely.
Call now to schedule your free estimate →
Compact the subgrade in layers. Don't try to compact 6 inches all at once. Instead, work in 2-3 inch lifts, compacting each layer fully before adding the next.
Use a plate compactor for residential work or a vibratory roller for larger areas. A plate compactor weighs 100-300 pounds and works well for driveways. Make multiple passes over the same area, typically 3-4 passes per lift, until the soil no longer moves under the compactor.
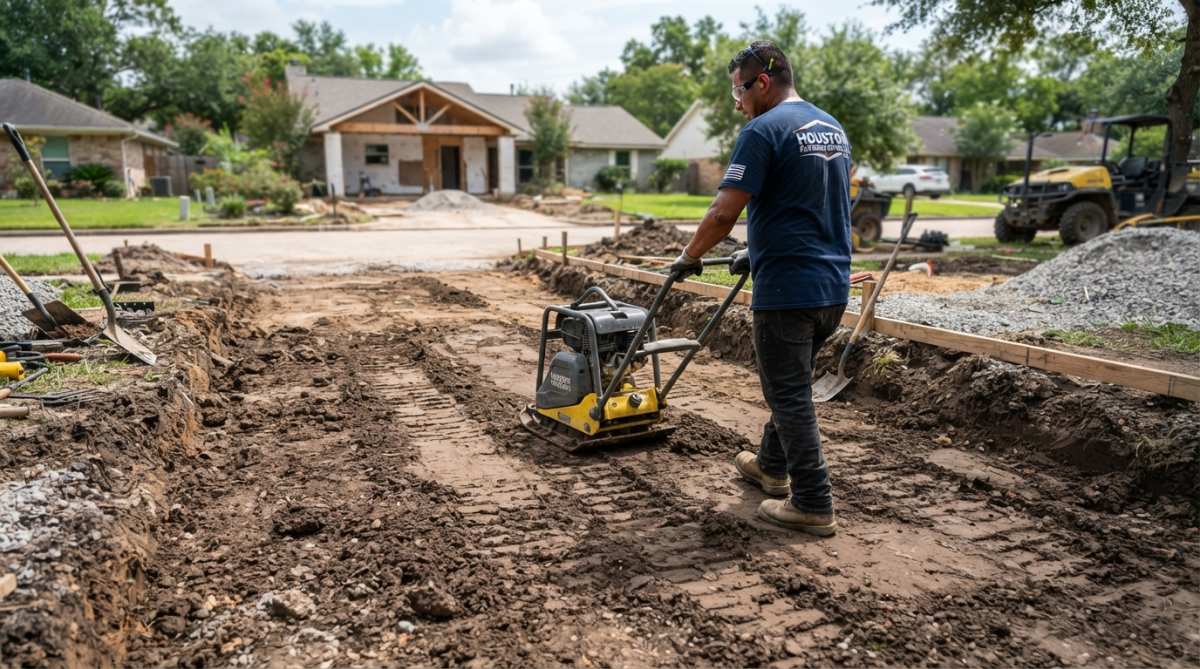
The soil should be slightly damp for optimal compaction. Wet soil is harder to compact. Dry soil compacts poorly. Aim for moist but not muddy, squeeze a handful and it should hold together without dripping water.
Test compaction by walking on the surface. Your foot should sink less than 1/4 inch. If it sinks more, compact again.
How to compact driveway soil correctly means achieving 90-95% of maximum density. This prevents settlement and tire tracks from forming under vehicle weight.
Step 5: Install Geotextile Fabric and Aggregate Base Layers
Geotextile fabric acts as a weed barrier and separation layer. It prevents fine soil particles from mixing into your aggregate base layer, which would reduce drainage and strength.
Lay geotextile fabric over the compacted subgrade. Use a landscape fabric rated for driveway use, typically 4-6 ounces per square yard. Overlap seams by 6-12 inches and secure the edges with landscape pins or weights.
Next, add your aggregate base layers. Most driveways use two layers: a base layer of crusher run (also called minus stone or recycled asphalt), followed by a top layer of smaller crushed stone.
Spread the base layer of crusher run 2-3 inches thick. Crusher run is a mix of crushed stone and dust that compacts very effectively. Compact this layer thoroughly with your plate compactor, using 3-4 passes.
Then add your top aggregate layer, typically 1-2 inches of 3/4-inch crushed stone or pea gravel. This layer provides a stable surface for paving and improves load distribution.
The aggregate base layers serve critical functions: they distribute vehicle loads across a wider area, improve drainage, and provide a stable foundation for asphalt or concrete.
Step 6: Plan Drainage and Slope Management
Drainage determines how long your driveway lasts. Water is the enemy of pavement, and proper drainage planning is now intertwined with local environmental regulations and long-term maintenance strategy.
Establish Proper Slope and Camber
Install Subsurface Drainage Where Needed
Understand Stormwater Regulations and Permeable Surface Options
Plan for Long-Term Maintenance and Regrading
- Annual inspection: After heavy rain, walk your driveway and note any pooling water or erosion patterns.
- Regrading every 5-7 years: Depending on traffic and climate, the surface may settle unevenly. Professional regrading restores proper slope and prevents water infiltration.
- Weed and vegetation management: Weeds and roots can compromise drainage ditches and subsurface pipes. Clear vegetation from drainage areas twice yearly.
- Seal coat maintenance: Every 2-3 years, apply a seal coat to protect against UV damage and water penetration. This extends pavement life and prevents water from infiltrating cracks.
How Long Does Asphalt Paving Last After Proper Ground Preparation
When ground preparation is done correctly, asphalt paving typically lasts 15-20 years under normal residential use. Commercial pavements with heavier traffic may last 12-15 years. The key variable is maintenance.
The upfront work pays dividends for years.
Common Mistakes to Avoid When Preparing Driveway Ground
Rushing the site clearing is mistake number one. Contractors sometimes leave roots, organic material, or large rocks in place to save time. This creates weak spots that fail quickly.
Frequently Asked Questions
How deep should I dig for a new driveway base?
Excavation depth depends on climate and soil type, but most residential driveways require 4 to 6 inches of compacted base material below the asphalt or concrete surface. In areas with freeze-thaw cycles, dig deeper to accommodate a thicker subbase. Always remove all topsoil and organic material down to stable subgrade before measuring base layer depth. Local building codes may specify minimum depths, so check with your municipality before starting excavation.
What is the best material for a driveway sub-base?
Crushed stone and crusher run (recycled asphalt and stone mix) are the most common sub-base materials because they compact well and provide excellent load distribution. Minus stone, a mixture of crushed rock and stone dust, also works effectively. Choose material based on your soil type and drainage needs. Permeable aggregate allows water to drain through, reducing standing water and surface damage. Avoid using clay-heavy material in the base layer, as it retains moisture and weakens the foundation.
Do I need a geotextile fabric under my driveway?
Geotextile fabric acts as a weed barrier and helps separate subgrade soil from aggregate base layers, preventing mixing that reduces load-bearing capacity. It's especially valuable in areas with poor drainage or clay soil. The fabric allows water to pass through while blocking soil migration. While not always required for every driveway, it extends pavement life and reduces maintenance by preventing vegetation growth and soil settlement. Consider it essential if your site has high water tables or unstable subgrade conditions.
How do I ensure proper drainage for a new driveway?
Create a drainage slope of at least 1-2% grade (roughly 1/8 inch per foot) to direct surface water away from the driveway and toward natural drainage areas or storm drains. Install permeable base materials that allow water to move through the sub-base instead of pooling. Use a drainage pipe or culvert if water naturally flows toward the driveway. Avoid creating low spots or depressions where water collects. Proper grading and slope management prevent freeze-thaw damage, potholes, and premature pavement failure.