 how-to
Maintain Asphalt Driveway After Resurfacing: A Step-by-Step Guide
Table of Contents
- How Long to Wait Before Driving on New Asphalt
- Curing Time and Early-Care Precautions for Resurfaced Asphalt
- Keeping Your Resurfaced Driveway Clean
- Removing Oil and Chemical Spills Safely
- Asphalt Driveway Sealcoating Schedule and Best Practices
- Driveway Maintenance Between Sealcoats
- Asphalt Driveway Crack Repair and Damage Prevention
- Protecting Your Asphalt from Water and UV Exposure
- Frequently Asked Questions
Last Updated: October 18, 2026
How Long to Wait Before Driving on New Asphalt
Fresh asphalt needs time to cure and harden. Most driveways requiring maintain asphalt driveway resurfacing need 24 to 48 hours before you can safely drive on them; some conditions demand longer.
Cooler weather extends curing time, add several days for fall or winter work. Heat speeds the process, but never rush it.
The asphalt looks solid long before it is, and driving too early creates permanent marks.
During this window, keep the driveway completely clear, no parked cars, no foot traffic if possible.
Curing Time and Early-Care Precautions for Resurfaced Asphalt
The first week is critical: the surface hardens gradually, and what you do now shapes how long your driveway lasts.
Most asphalt reaches 90% hardness within 7 days; full cure takes 30 days.
Here's what to avoid during the first week:
- Do not park heavy vehicles on the driveway
- Do not make sharp turns or sudden stops
- Do not allow standing water to pool on the surface
- Do not use the driveway during rain or high humidity
- Do not apply sealcoat until the asphalt fully cures
From week two through day 30, drive gently: smooth acceleration and deceleration, straight driving, no aggressive maneuvers.
After 30 days, the asphalt is hard enough for normal use and you can consider a sealcoat. Sealing too early traps moisture and creates adhesion problems.
Keeping Your Resurfaced Driveway Clean
Dirt and organic debris trap moisture against the asphalt, accelerating wear and causing cracks.
Start cleaning after the first week, once the asphalt is hard enough.
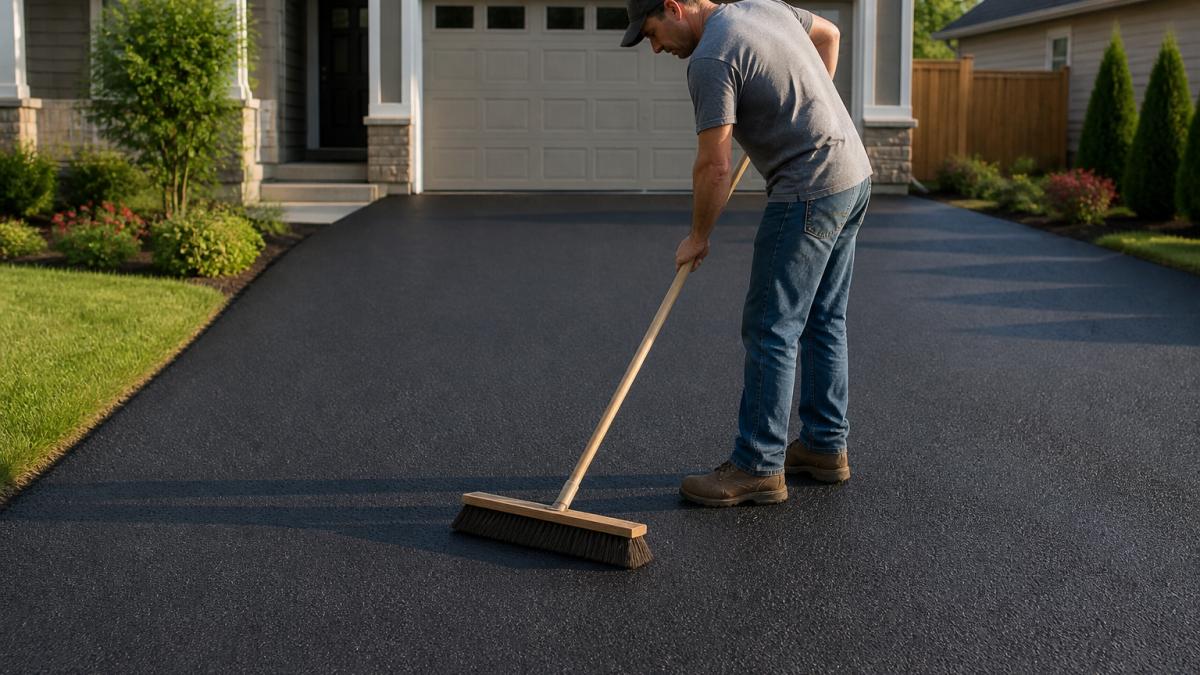
For deeper cleaning, use a mild cleaner and water.
Never use harsh chemicals or acidic cleaners on asphalt, they break down the binder.
Clean seasonally: spring removes winter debris, fall sweeping prevents leaf rot, and summer cleaning keeps off moisture-attracting dust.
Removing Oil and Chemical Spills Safely
Address oil stains quickly, fresh spills are far easier to remove than old ones.
For fresh spills, spread kitty litter, sawdust, or commercial absorbent granules over the stain and let it sit 24 hours to pull oil out before it penetrates.
Then clean the remaining stain with an asphalt-safe degreaser, letting it sit 15 to 30 minutes before scrubbing with a stiff brush and rinsing.
Antifreeze and brake fluid are more toxic and damage asphalt faster than oil.
Never use salt or vinegar to clean asphalt, they accelerate deterioration.
Asphalt Driveway Sealcoating Schedule and Best Practices
Sealcoating is the highest-leverage maintenance step after resurfacing, but timing is where most homeowners get it wrong. Wait a minimum of 30 days, with many practitioners preferring 60. Fresh asphalt still contains residual moisture and volatile oils that need to escape; sealing too soon traps them and causes adhesion failure, the sealer lifts, blisters, or peels within a season.
How to tell the surface is actually ready
Calendar days alone are an incomplete test. Check these before scheduling a sealcoat:
- Color and texture: Fully cured asphalt has shifted from jet black to a uniform dark gray. Patches that still look glossy or smell strongly of petroleum are not ready.
- Moisture test: Tape a 12-inch square of clear plastic to the surface on a warm morning and check it the next day. Condensation under the plastic means moisture is still migrating out of the pavement.
- Weather window: Air and surface temperatures should be at least 50°F and rising, with no rain forecast for 24 to 48 hours. Sealcoat needs to cure, not get washed off.
- Surface condition: Any crack wider than a hairline, any alligator-cracked area, and any oil-soaked patch should be repaired before sealing. Sealer is a protectant, not a filler.
Sealing too early is worse than sealing late. A failed sealcoat costs more to strip and redo than a delayed one costs to postpone. When in doubt, wait another two to four weeks.
Water-based versus oil-based sealers
Both work, but suit different situations:
- Water-based (asphalt emulsion) sealers dry faster, are lower in odor, and are easier for a contractor to apply evenly. They are the default choice for most residential driveways and typically cost less per square foot.
- Oil-based (cutback) sealers penetrate deeper into the surface and can last longer in high-traffic or harsh-sun conditions, but they cure more slowly and carry stronger fumes. They are less common on residential work because of environmental and application restrictions in many jurisdictions.
- Polymer-modified and additive-enhanced sealers sit between the two: they use an emulsion base with additives that improve flexibility and resistance to cracking. They cost more but are worth considering on driveways that see heavy loads or wide temperature swings.
Ask which product the contractor intends to use and why. A one-line answer is a red flag; a good contractor ties the choice to your traffic, sun exposure, and surface age.
Call now to schedule your free estimate →
The ongoing schedule
After the first sealcoat, reseal every 2 to 3 years, a starting point, not a rule. Shorten it for heavy traffic, full sun, or a history of cracking; lengthen it for shaded, lightly used driveways with intact sealer. Watch for these signals:
- The surface looks faded, chalky, or gray rather than dark.
- Water no longer beads; it soaks in.
- You can see exposed aggregate or a rough, sandy texture.
- Small hairline cracks are reappearing.
Application quality matters more than product choice
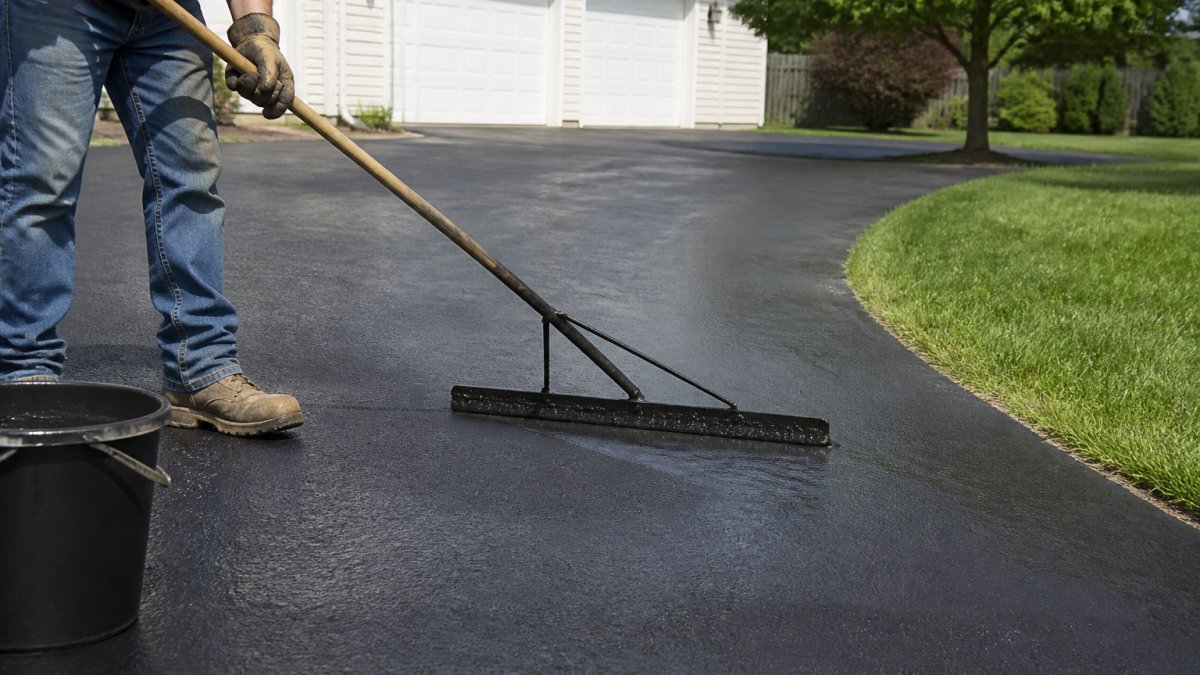
A premium sealer applied thin and unevenly underperforms a mid-grade product applied correctly. Proper application means cleaning first, repairing cracks and oil spots, mixing to the manufacturer's ratio, and applying two coats at the specified coverage rate rather than one heavy coat. DIY commonly fails on mixing and coverage, so most practitioners recommend hiring a contractor for the first sealcoat and considering DIY only on later cycles.
The sealcoat decision has three gates: cure time (30 to 60 days), surface readiness (color, moisture, repairs), and weather window (50°F and rising, dry for 24 to 48 hours). Pass all three before you book the work.
Driveway Maintenance Between Sealcoats
Between sealcoats, regular care to maintain asphalt driveway resurfacing prevents small problems from becoming expensive repairs.
Sweep monthly to remove moisture-holding debris and wash quarterly with mild soap and water; this routine significantly extends sealcoat life.
Standing water is the enemy of asphalt.
Address spills immediately, oil, coolant, and other fluids damage asphalt quickly. Keep absorbent material on hand for emergencies.
In hot weather the asphalt softens, so avoid parking heavy vehicles in one spot for long periods.
Asphalt Driveway Crack Repair and Damage Prevention
Cracks are the entry point for the damage that eventually kills a driveway. Water gets in, freezes, expands, and widens the crack; the cycle repeats every winter until the surrounding pavement breaks down. Catching cracks early is cheaper than any later repair, but the method has to match the crack type, the wrong one wastes money and can make things worse.
Diagnose before you repair
Not all cracks mean the same thing. Diagnose before you buy any filler:
- Hairline cracks (under 1/8 inch): Surface shrinkage, usually cosmetic. Clean and seal with a liquid crack filler.
- Working cracks (1/8 to 1/2 inch): These open and close with temperature. They need a flexible sealant, not a rigid filler, or they will re-crack within a season.
- Wide or offset cracks (over 1/2 inch, or edges at different heights): A sign of base movement or settlement. Filler alone will not fix it; the section likely needs patching or professional evaluation.
- Alligator cracking (interconnected cracks in a pattern): Base failure. Patching is a temporary cosmetic fix; the section needs resurfacing or reconstruction.
- Longitudinal cracks running down the middle of the driveway: Often a paving joint or a sign of poor drainage beneath the surface. Worth a professional look.
- Cracks with vegetation growing in them: The crack has been open long enough for soil and seed to collect. Clean thoroughly before filling, or the filler will not bond.
Photograph every crack you find, with a coin or tape measure next to it for scale. The photos help you track whether a crack is stable or growing, and they give a contractor a clear picture before an on-site visit.
Matching the repair to the crack
- Liquid crack filler works for hairline cracks. Clean the crack with a wire brush or compressed air, then pour or squeeze filler in and let it cure per the label. Most cure within 24 hours.
- Flexible rubberized sealant is the right choice for working cracks up to about 1/2 inch. These products move with the pavement. Preparation is the whole job: clean out all debris and loose material, and use a backer rod in deep cracks so the sealant sits at the right depth rather than sinking.
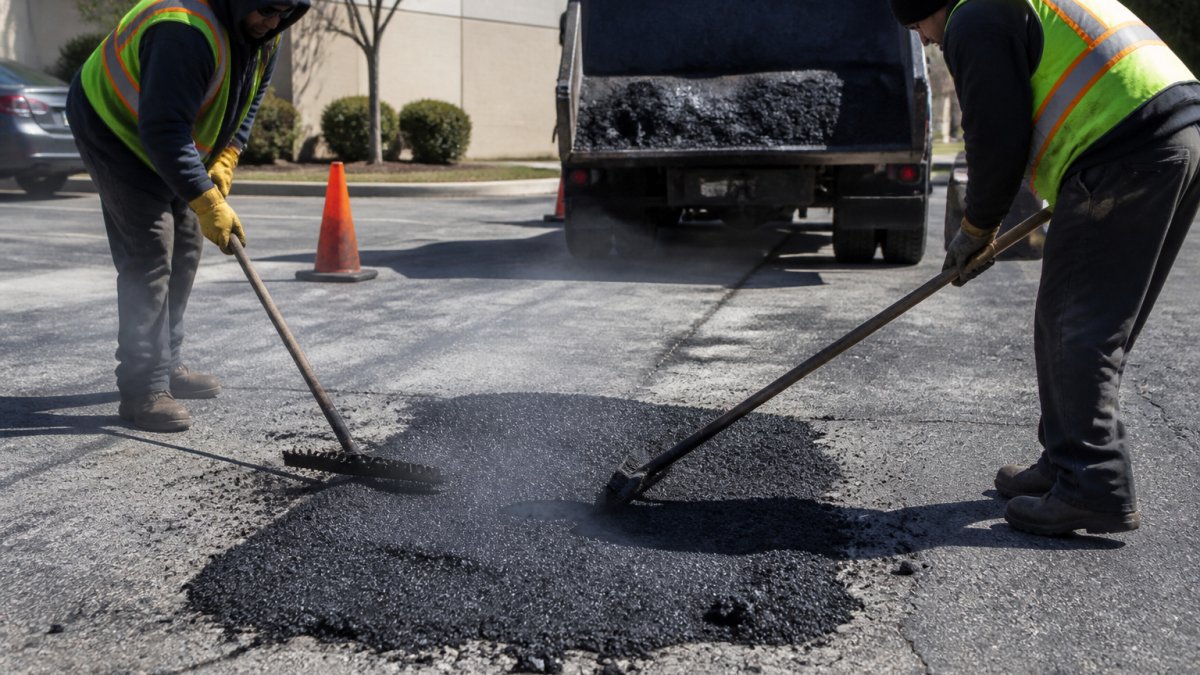
- Patches are for wide cracks, small potholes, and localized failures. Cut the area to sound pavement, clean it, apply tack coat, and compact the patch material. Poor compaction is the most common reason patches fail.
- Professional repair is warranted for alligator cracking, cracks wider than 1/2 inch, depressions, and any area where water pools. These are signs of a base or drainage problem that surface repair cannot solve.
Prevention is the cheaper repair
Most cracks are preventable, and the prevention steps overlap with your maintenance routine:
- Drainage first. Water is the root cause of most crack growth. Make sure the driveway slopes away from the house and garage, and address any low spots where water stands after rain.
- Sealcoat on schedule. A properly applied sealcoat keeps surface water out of hairline cracks before they widen.
- Manage loads and turning. Sharp turns and heavy vehicles stress the surface, especially in hot weather when asphalt softens. Encourage drivers to pull straight in and out.
- Inspect seasonally. Walk the driveway in spring after the last freeze and in fall before winter. Those are the two moments when new cracks are easiest to catch and cheapest to fix.
- Keep de-icing chemicals in check. Rock salt and some de-icers accelerate freeze-thaw damage. Use them sparingly and sweep up excess rather than letting it sit on the surface.
Match the repair to the crack: filler for hairline, flexible sealant for working cracks, patches for localized failures, and a professional for alligator cracking or any crack wider than 1/2 inch. Then fix the drainage and load issues that caused the crack in the first place.
Protecting Your Asphalt from Water and UV Exposure
Water and sun are the two biggest enemies of asphalt durability. Understanding how they damage your driveway helps you protect it.
UV rays break down the asphalt binder over time, making the surface brittle and faded.
Sealcoating blocks UV rays and prevents oxidation, the protective layer reflects sunlight and keeps harmful rays from damaging the asphalt underneath.
Water damage happens through multiple mechanisms.
Proper grading is essential.
During heavy rain, monitor your driveway for pooling.
Maintaining a resurfaced asphalt driveway protects your investment and extends its life significantly.
Frequently Asked Questions
How long should you stay off an asphalt driveway after resurfacing?
Most resurfaced asphalt requires 24-48 hours of curing before light foot traffic is safe. Heavy vehicle traffic should wait 6-12 months for the asphalt surface to fully cure and harden. During the first week, avoid parking in the same spot, sharp turns, and unnecessary driving. Temperature and humidity affect curing speed; cooler, humid conditions extend the timeline. Always follow your contractor's specific curing instructions, as they account for local weather conditions.
How often should you sealcoat an asphalt driveway?
Sealcoat your resurfaced asphalt driveway every 2-3 years to maintain the protective layer and extend driveway life. The first sealcoat should be applied 6-12 months after resurfacing, once the asphalt has fully cured. More frequent sealcoating may be needed in climates with harsh sun exposure or heavy rain. Regular sealcoating protects against water damage, UV rays, and chemical spills, reducing the need for costly repairs.
What should you avoid doing on a newly resurfaced driveway?
Avoid parking heavy vehicles, making sharp turns, and allowing standing water during the first 6-12 months. Do not use the driveway as a work area for jacks, lifts, or equipment that creates concentrated weight. Prevent tire marks and surface wear by distributing vehicle weight evenly and avoiding rapid acceleration or braking. Keep organic debris, leaves, and dirt swept away to prevent moisture retention and cracks.
How do you maintain an asphalt driveway between sealcoats?
Sweep regularly to remove grit, organic debris, and leaves that trap moisture. Clean spills immediately using mild cleaner and water to prevent staining and surface damage. Fill small cracks promptly to prevent water infiltration and expansion. Avoid parking in the same spot for extended periods, and maintain proper drainage to prevent water pooling. These routine maintenance steps extend the time between sealcoats and protect the asphalt surface from premature wear.