 how-to
Maintaining Commercial Parking Lots in Humid Climates
Table of Contents
- Why Humid Climates Demand Different Parking Lot Maintenance
- Step 1: Establish a Commercial Parking Lot Maintenance Checklist
- Step 2: Install and Maintain Asphalt Parking Lot Drainage Solutions
- Step 3: Control Mold, Algae, and Biological Growth
- Step 4: Develop a Parking Lot Sealcoating Schedule
- Step 5: Address Cracks and Execute Parking Lot Pothole Repair
- Step 6: Remove Oil Stains, Grime, and Storm Residue
- Step 7: Plan for Routine Inspections and Maintenance Budgeting
- Frequently Asked Questions
Last Updated: October 15, 2026
Why Humid Climates Demand Different Parking Lot Maintenance
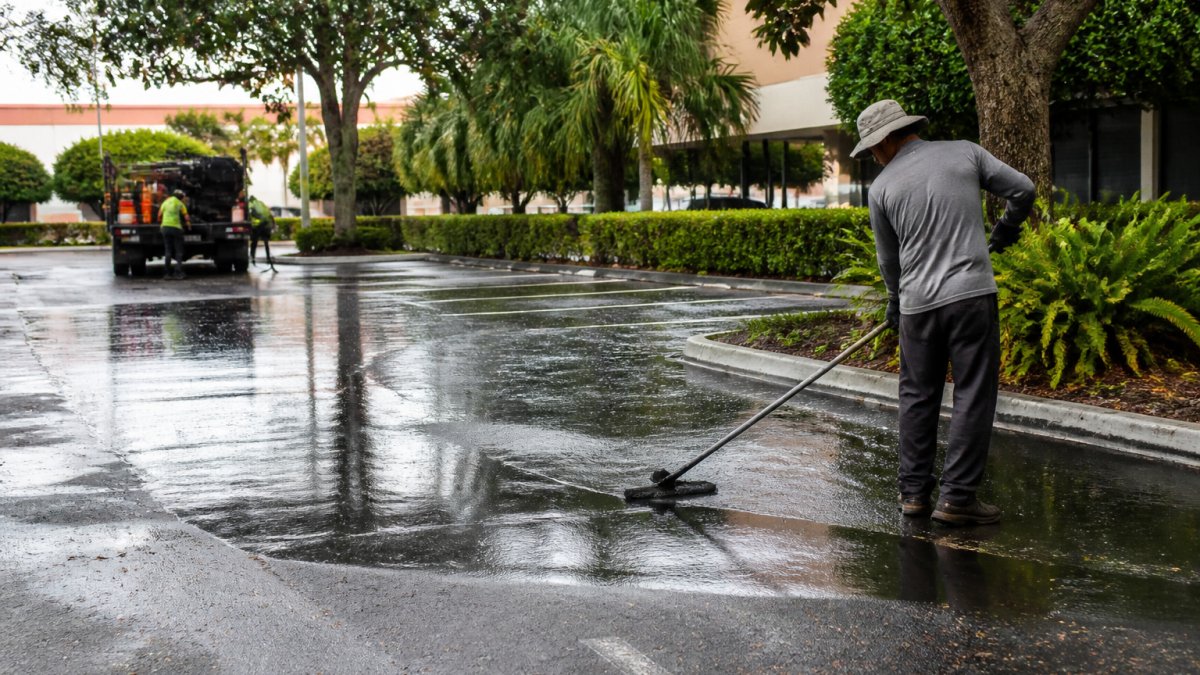
Maintaining commercial parking lots in humid climates requires a fundamentally different approach than drier regions.
The core challenge is water.
Surface drainage failures compound the problem.
The solution is proactive management tailored to humidity and rainfall: routine inspections, drainage maintenance, biological growth control, sealcoating, and root-cause crack repair.
This guide walks you through the steps to maintain commercial parking lots in humid climates cost-efficiently.
Step 1: Establish a Commercial Parking Lot Maintenance Checklist
A structured maintenance checklist prevents costly surprises. Without one, property managers react to problems instead of preventing them. A reactive approach always costs more.
Your checklist should include weekly tasks, monthly inspections, and seasonal deep reviews, with frequency depending on traffic volume, climate, and existing pavement condition.
Weekly and Monthly Tasks
Weekly tasks focus on debris removal and visual inspection:
- Sweep the entire lot to remove leaves, dirt, and sediment
- Clear catch basins and drainage channels of debris
- Check for new cracks or potholes after heavy rain
Debris accumulation accelerates deterioration: leaves and dirt trap moisture against the surface, which never fully evaporates in humid climates, especially in shade. Sweeping takes 2-3 hours for a typical lot and is the cheapest maintenance you'll do.
Monthly inspections dig deeper:
- Walk the entire perimeter and document any changes
- Photograph problem areas for your records
- Test drainage by observing water flow after rain
Monthly documentation creates a maintenance history. Comparing photos month-to-month reveals trends: a crack that grew 6 inches in a month needs immediate attention, and a spreading stain signals an active leak.
Seasonal Inspection Points
Humidity and rainfall shift seasonally, so your inspection focus should too.
Spring (March-May) brings heavy rainfall:
- Inspect for winter damage and frost heave
- Check catch basins after the first heavy rain, they often clog with winter debris
- Look for new cracks from freeze-thaw cycles
Summer (June-August) means intense heat and storms:
- Watch for thermal cracking from temperature swings
- After thunderstorms, check for erosion around catch basins and channels
- Inspect for heat-related blistering or rutting in high-traffic areas
Fall (September-November) brings leaf drop and cooling:
- Clear leaves and debris aggressively, they clog drainage and trap moisture
- Inspect catch basins and storm drains before the rainy season
- Look for pooling water as evaporation slows
Winter (December-February) is slowest but still matters:
- Monitor freeze-thaw damage where water infiltrated cracks
- Clear catch basins after storms to prevent ice dams
- Watch for algae in consistently wet, shaded areas
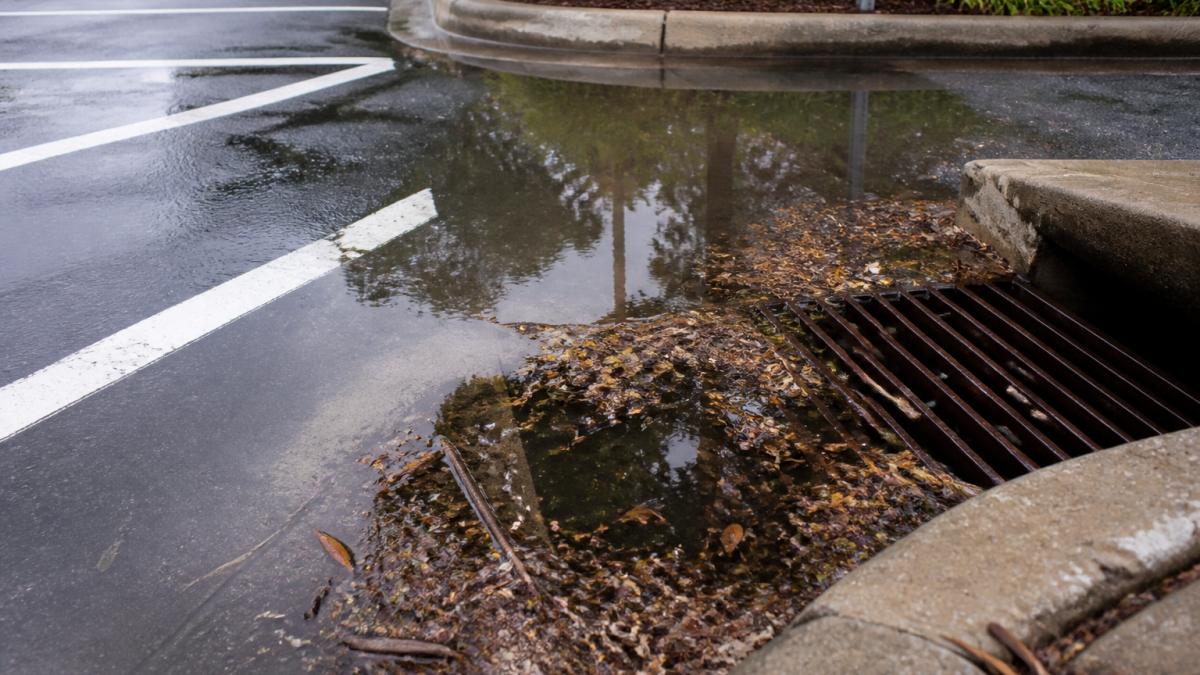
Step 2: Install and Maintain Asphalt Parking Lot Drainage Solutions
Poor drainage is the root cause of most premature pavement failure in humid climates. Water that doesn't flow away infiltrates the pavement structure. Fix drainage first, and you prevent 60-70% of future problems.
Asphalt parking lot drainage solutions fall into two categories: surface drainage (slope and grading) and subsurface drainage (catch basins and underdrains).
Surface Drainage and Slope Verification
Proper slope is foundational.
Check slope by observing water flow after rain. Water should move toward catch basins or perimeter channels.
Common slope failures occur in:
- Low spots where the pavement has settled over time
- High-traffic areas where repeated vehicle weight has compressed the base
- Areas where the original grading was inadequate
Fixing slope typically requires mill-and-fill or selective resurfacing, a significant repair that prevents ongoing water infiltration.
Surface drainage channels direct water to catch basins and should be swept regularly to prevent sediment buildup, which clogs the channel and forces water to pool.
Catch Basins and Stormwater Management
Catch basins collect surface runoff and direct it into the storm drain system, critical infrastructure in humid climates with frequent, heavy rainfall.
Catch basins fail when:
- Sediment and debris accumulate inside, reducing capacity
- The drain line becomes blocked downstream
- The basin settles or cracks, allowing water to escape sideways
Inspect catch basins monthly and remove accumulated sediment, leaves, and debris to prevent backup and keep water flowing efficiently.
Many jurisdictions require documented stormwater maintenance, and some mandate catch basin cleaning at specific intervals.
Standing water in or around catch basins is a red flag: the basin is full or the drain line is blocked.
Step 3: Control Mold, Algae, and Biological Growth
Humid climates favor mold, algae, and mildew, which thrive in consistently wet conditions, especially shaded areas where evaporation is slowest.
Biological growth creates several problems:
- Slip hazards for pedestrians and vehicles, increasing liability
- Unsightly appearance that signals poor maintenance
- Accelerated deterioration as organisms retain moisture against the surface
Prevention beats treatment. Reduce moisture retention by:
- Ensuring excellent drainage so water doesn't pool
- Trimming tree branches to increase sunlight
- Sweeping frequently to remove organic debris that feeds growth
When growth appears, pressure wash at moderate pressure (1,500-2,000 PSI) to avoid damaging pavement. High-pressure washing over 3,000 PSI erodes asphalt and accelerates deterioration.
After pressure washing, apply a biocide to kill remaining spores and slow regrowth. These treatments are temporary, regrowth occurs in 6-12 months in humid climates, so budget for repeats.
Call now to schedule your free estimate →
For persistent problem areas, consider permanent solutions:
- Install under-canopy drainage to stop water dripping from trees
- Increase slope or add subsurface drainage to eliminate standing water
- Trim vegetation to improve sunlight and airflow
Step 4: Develop a Parking Lot Sealcoating Schedule
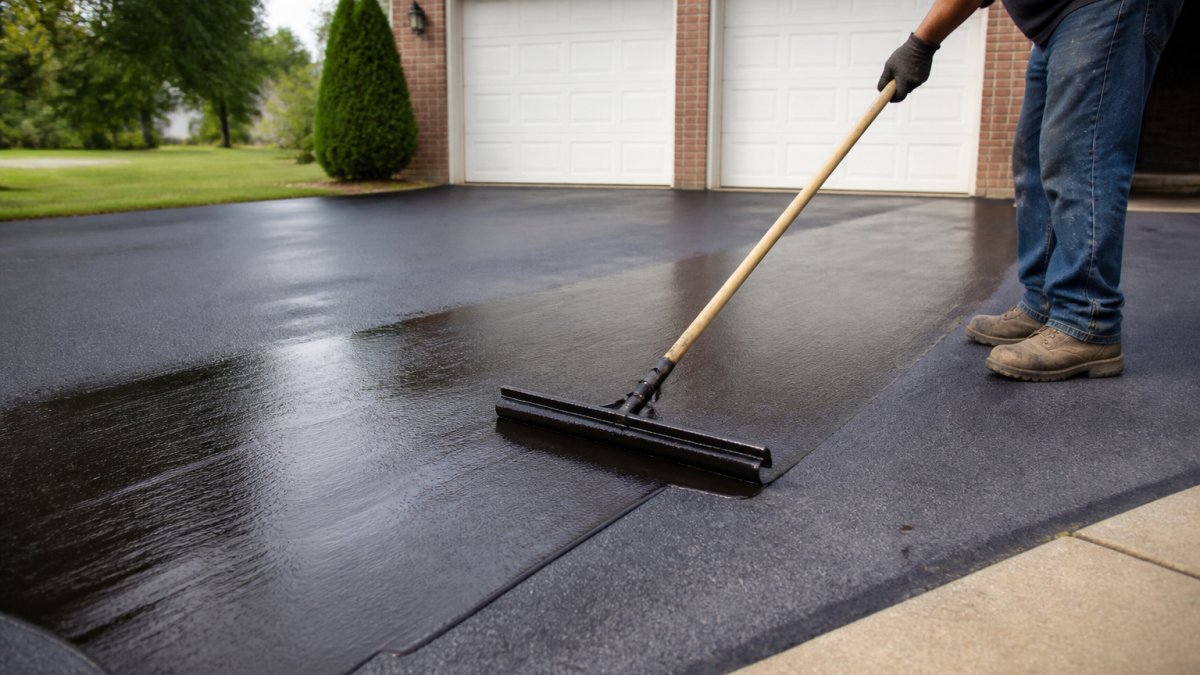
Sealcoating protects asphalt from UV damage, water infiltration, and oxidation. In humid climates it's essential, extending pavement life by 5-10 years versus unsealed pavement.
Apply sealcoat every 2-3 years in humid climates. Unsealed asphalt deteriorates faster as water penetrates more easily; sealcoat creates a barrier that slows infiltration and blocks UV breakdown of the binder.
A typical sealcoating schedule looks like this:
| Year | Task | Condition |
|---|---|---|
| 1 | Initial seal coat | New or recently repaired asphalt |
| 3 | Reapply seal coat | After 2-3 years of wear |
| 6 | Reapply seal coat | After another 2-3 years |
| 9 | Evaluate for resurfacing | Sealcoat may no longer be cost-effective |
Before sealcoating, repair all cracks and potholes. Sealcoat won't stick to damaged areas and water keeps infiltrating through them. Repair first, then seal.
Humidity-Aware Curing and Application Conditions
This is where most sealcoating fails in humid climates: sealcoat must cure properly or it peels, blisters, or washes away prematurely.
Sealcoat requires:
- Dry pavement surface (no standing water, no rain for 24 hours before application)
- Dry conditions during application (no rain or heavy dew)
- Dry conditions for 24-48 hours after application (varies by product)
In humid climates these conditions are rare.
Plan sealcoating for the driest season, typically late summer or early fall in humid regions, when humidity is lower and rain less frequent.
Check the weather forecast before scheduling. You need 48-72 hours of dry weather. A single rain event during curing ruins the entire application.
Step 5: Address Cracks and Execute Parking Lot Pothole Repair
Cracks and potholes are entry points for water. Address them immediately, delaying lets water infiltrate deeper, weakening the base layer and subgrade.
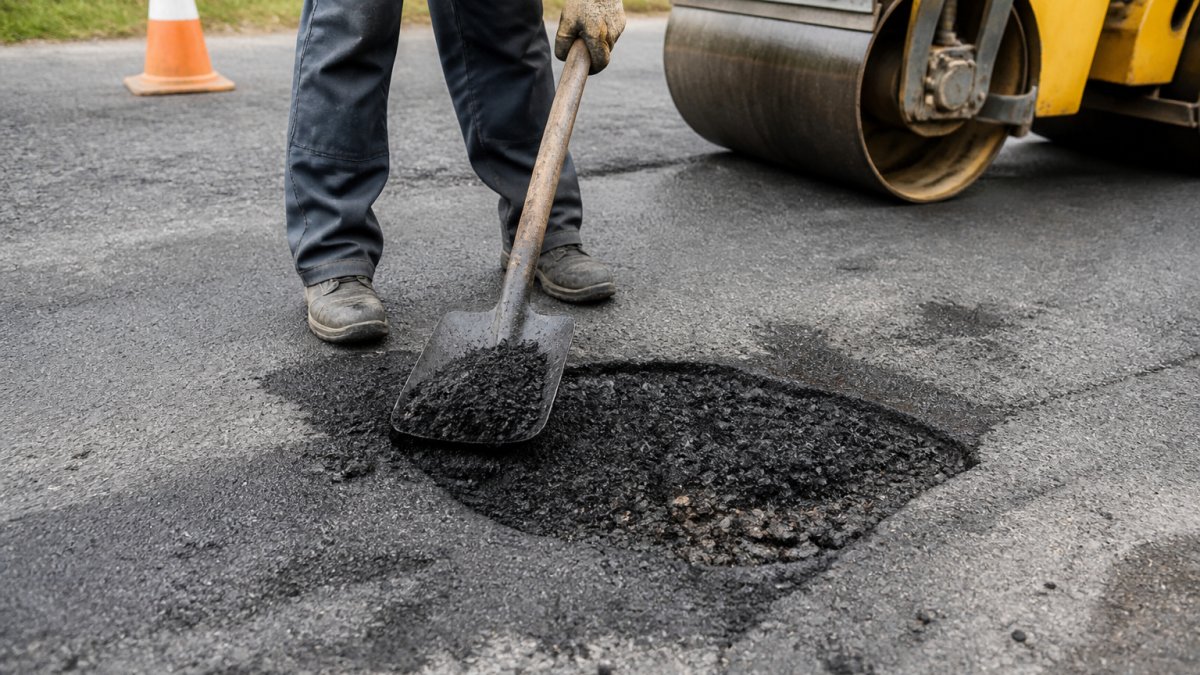
Small cracks under 1/4 inch wide can be filled with crack sealant. Larger cracks need routing and specialized filler. Potholes require removing damaged material and replacing it with new asphalt.
Root-Cause Repair vs. Temporary Patching
Many contractors fail here: they patch the hole without fixing the underlying problem.
Temporary patching fills the pothole with asphalt and moves on. The patch lasts 6-12 months, then fails again because the underlying cause wasn't addressed.
Root causes include:
- Poor drainage allowing water to infiltrate the base
- Inadequate base layer thickness
- Subgrade saturation from prolonged water exposure
- Thermal stress from extreme temperature swings
Root-cause repair means identifying and fixing the underlying problem, which might mean:
- Improving drainage so water doesn't infiltrate
- Removing and replacing a compromised base layer
- Letting the subgrade dry before repaving if saturated
- Increasing pavement thickness in high-traffic areas
Root-cause repair costs more upfront but prevents repeat failures, and paying for the same repair three times.
We diagnose the root cause before recommending repair. We don't just patch, we fix the problem.
Step 6: Remove Oil Stains, Grime, and Storm Residue
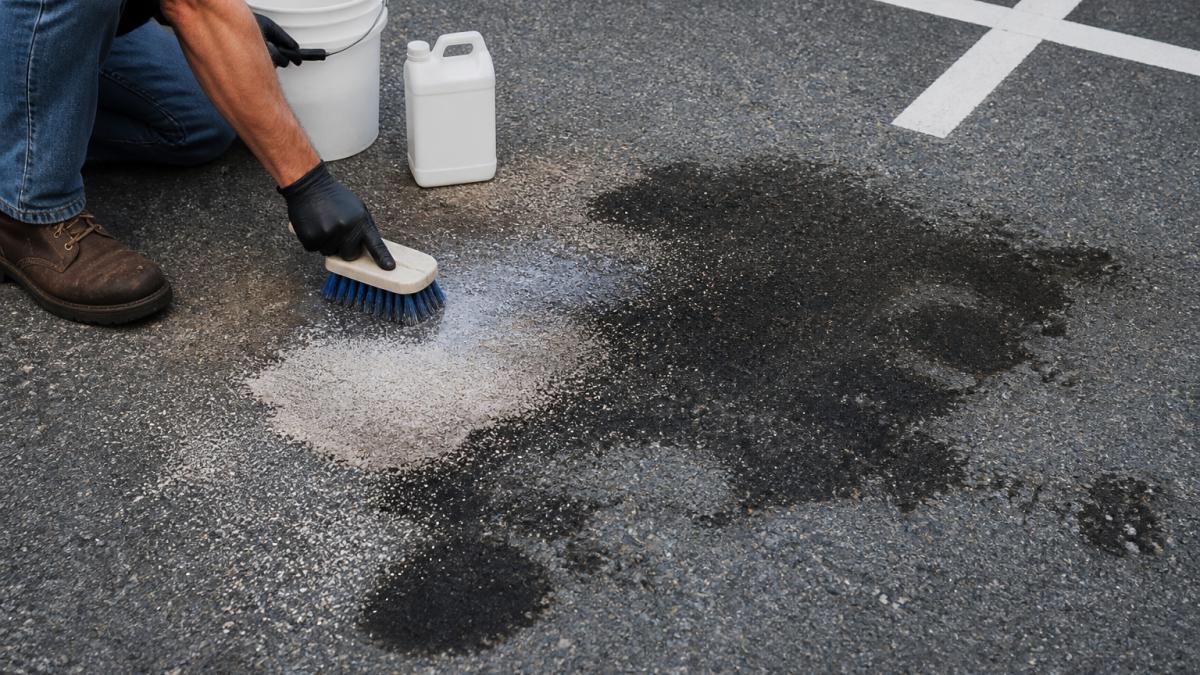
Oil stains, grime, and storm residue accumulate on parking lots. They're unsightly, signal poor maintenance, and can accelerate pavement deterioration.
Remove stains and grime by:
- Sweeping regularly to prevent accumulation
- Pressure washing to remove stubborn deposits (use 1,500-2,000 PSI to avoid surface damage)
- Applying degreaser to fresh oil stains before they oxidize and harden
- Using specialized stain removers for different types of stains
Clear storm residue quickly. Sediment traps moisture against the pavement and leaves decompose and feed algae. Remove these materials within 24 hours of a storm.
Regular cleaning maintains appearance and extends pavement life: a lot cleaned quarterly looks better and lasts longer than one cleaned annually.
Step 7: Plan for Routine Inspections and Maintenance Budgeting
Routine inspections catch problems early, preventing small issues from becoming expensive repairs.
Establish an inspection schedule:
- Monthly visual walk-through (30-45 minutes)
- Quarterly detailed inspection with documentation (1-2 hours)
- Annual comprehensive assessment with a pavement professional (2-4 hours)
Document everything. Photos, measurements, and dates create a maintenance history that helps you:
- Spot trends (is that crack growing? is drainage worsening?)
- Justify repair budgets to ownership
- Plan long-term capital improvements
- Prove due diligence if liability issues arise
Maintenance budgeting should allocate funds for:
- Routine cleaning and sweeping (ongoing)
- Quarterly inspections and minor repairs (ongoing)
- Annual sealcoating refresh (every 2-3 years)
- Crack and pothole repair (as needed, typically 1-2% of lot value annually)
A well-maintained lot costs roughly 1-2% of replacement value annually; a neglected lot costs 3-5% in emergency repairs and accelerated deterioration.
The math is simple: prevention always costs less than emergency repair.
Houston Pavement Repair LLC specializes in humidity-aware pavement maintenance and repair. We diagnose root causes instead of applying temporary patches.
Frequently Asked Questions
How often should a commercial parking lot be inspected in a humid climate?
Inspect commercial parking lots monthly for standing water, debris accumulation, and surface damage. After heavy rainfall, perform spot checks within 24-48 hours to identify drainage failures and water infiltration. Conduct thorough seasonal inspections every three months to catch early signs of mildew, algae growth, and pavement deterioration before they worsen.
What should be included in a parking lot maintenance checklist for humid environments?
A commercial parking lot maintenance checklist should include routine sweeping and debris removal, drainage system inspection, pressure washing to remove grime and algae, crack sealing, pothole repair assessment, sealcoating condition review, and mildew/algae control. Document standing water locations, inspect pavement markings and signage visibility, check catch basins for blockages, and verify proper slope for surface drainage to prevent water infiltration and subgrade saturation.
How does humidity affect asphalt parking lots, and what repair conditions should I follow?
High humidity slows asphalt curing, increases moisture retention in the pavement structure, and accelerates algae and mildew growth. Humid conditions also cause water infiltration that weakens the subgrade. Apply sealcoating and crack sealant only when humidity is below 85% and temperatures are stable; avoid application during or immediately after rain. Allow extended curing times, typically 48-72 hours, before allowing vehicle traffic on newly sealed or repaired surfaces.
What is the difference between temporary patching and root-cause parking lot pothole repair?
Temporary patching fills the hole without addressing the underlying cause, usually water infiltration and subgrade saturation, so the pothole returns within months. Root-cause repair involves removing the affected pavement, inspecting and stabilizing the subgrade, addressing drainage issues, and applying proper asphalt or concrete. This approach extends pavement lifespan and prevents recurring damage, making it more cost-effective over time despite higher upfront investment.