 How-to
How Do You Prepare a Parking Lot for Sealcoating?
Last Updated: October 24, 2026
Quick Summary
To prepare a parking lot for sealcoating, first inspect the pavement and confirm it is structurally sound, since parking lot sealcoating is a protective coating, not a repair. Then sweep and power wash the surface, treat oil stains, fill cracks, patch potholes, mask drains and curbs, and set traffic control before sealing.
- Sealer needs a dry surface and mild temperatures, so check for a two-day window with no rain.
- Cracks must be filled before sealing because sealer is too thin to bridge an open crack.
- Potholes need full-depth repair cut to a square edge, filled in lifts, and compacted flush.
- Cover storm drains before cleaning and sealing to prevent material from entering catch basins.
- Sealer needs 24 to 48 hours to cure before traffic returns to the lot.
Table of Contents
- Assessing Pavement Condition Before You Touch a Broom
- Your Parking Lot Sealcoating Checklist, Start to Finish
- Cleaning the Surface: Sweeping, Blowing, and Power Washing
- Handling Oil Spots, Grease, and Stubborn Stains
- Parking Lot Crack Repair Before Sealcoating
- Pothole Repair and Patching Damaged Sections
- Protecting Drains, Curbs, and Building Edges
- Parking Lot Traffic Control During Sealcoating
- What to Check Before the Sealer Goes Down
- Frequently Asked Questions
Assessing Pavement Condition Before You Touch a Broom
A lot that fails within a year of sealcoating usually failed at assessment, not application. Before anyone picks up a broom, walk the lot and decide whether the pavement is even a candidate.
Parking lot sealcoating is a protective coating applied to sound asphalt to slow oxidation and water damage. It is not a repair. It hides nothing and fixes nothing.
Check for these disqualifiers:
- Alligator cracking: interconnected cracks that look like reptile scales. This signals a failing base.
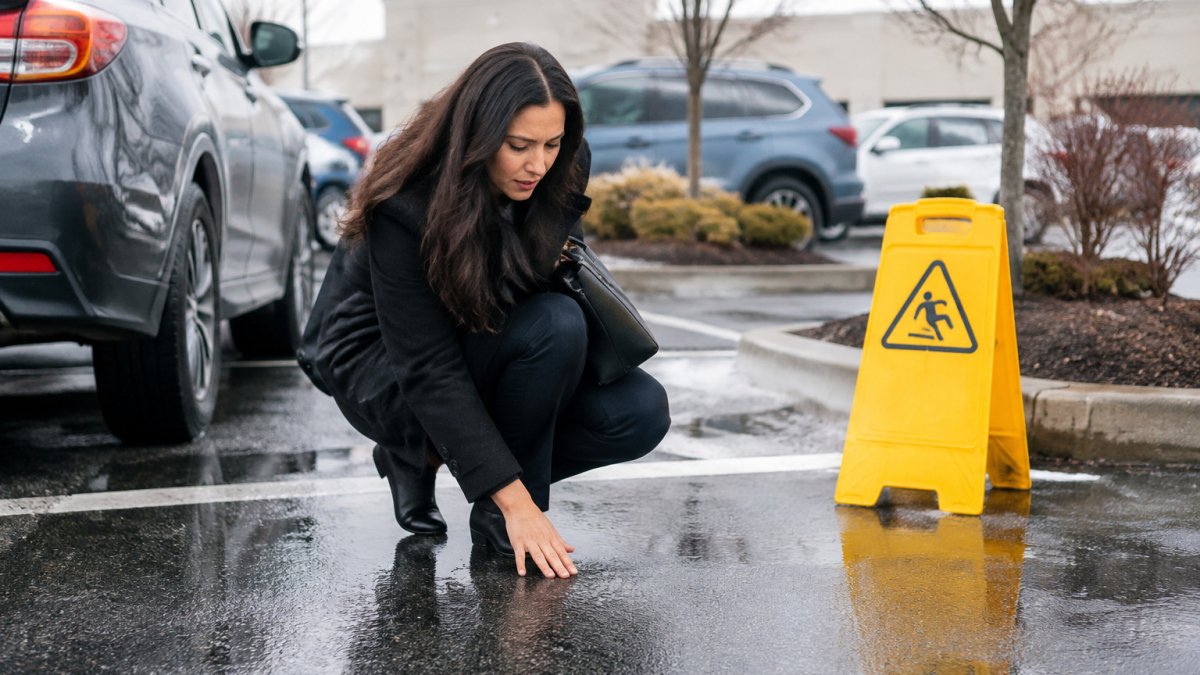
- Rutting and depressions: low spots that hold water after rain.
- Potholes and loose aggregate: missing or crumbling surface material.
If you see two or more of these, get a professional opinion before sealing.
Your Parking Lot Sealcoating Checklist, Start to Finish
A parking lot sealcoating checklist runs in a fixed order: inspect, clean, repair, protect edges, control traffic, apply, and cure. Skipping a step does not save time. It moves the failure forward by a season or two.
Here is a common sequence for commercial lots:
- Inspect and mark defects
- Sweep and blow the full surface
- Treat oil and grease spots
- Fill cracks and patch potholes
- Mask drains, curbs, and building edges
- Set traffic control and notify tenants
- Apply sealer in work sections
- Cure 24 to 48 hours before opening
Sealer needs a dry surface and mild temperatures, so check the forecast for a two-day window with no rain. For scheduling guidance, see the best time of year for parking lot sealcoating.
Cleaning the Surface: Sweeping, Blowing, and Power Washing
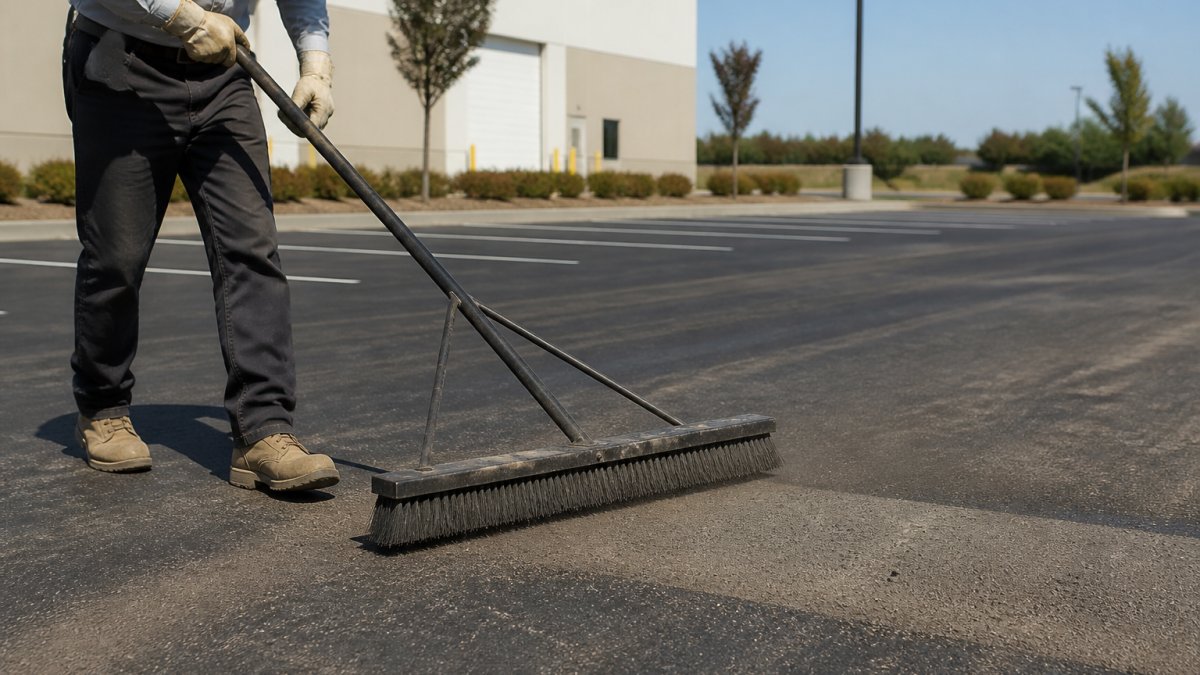
Sealer bonds to asphalt, not dirt.
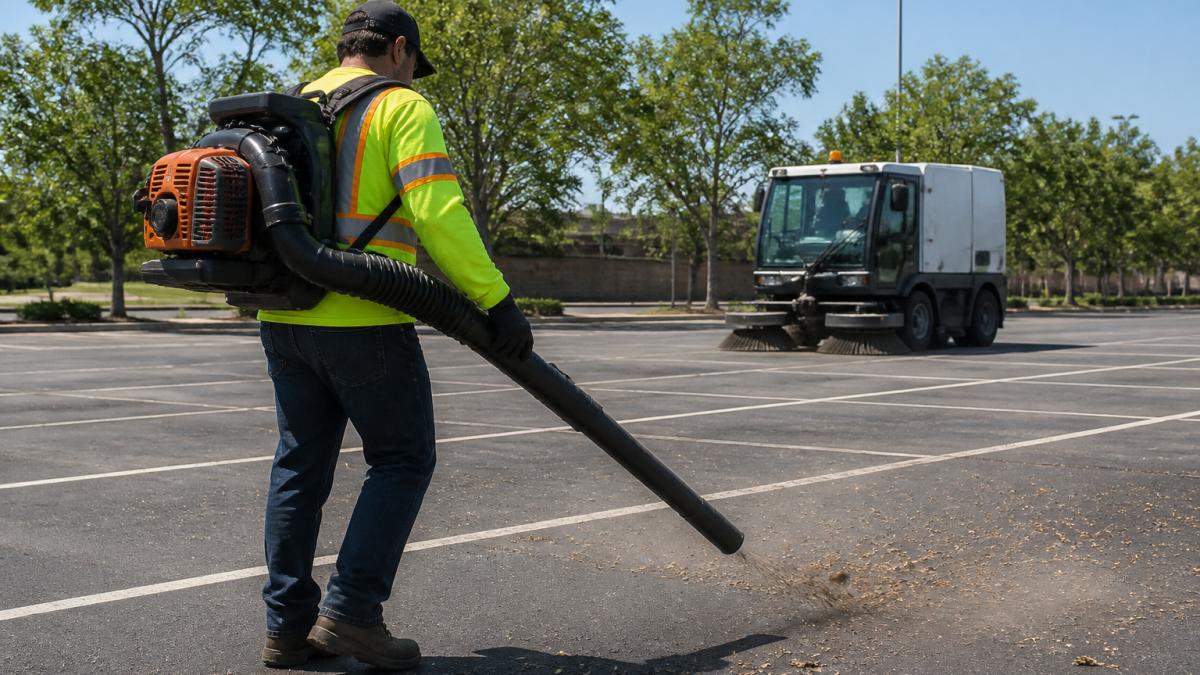
Start with a mechanical sweeper for open areas, then backpack blowers along curbs, islands, and building edges the sweeper cannot reach.
Power washing comes next, and it is the step most crews rush. Use it to flush fine dirt and push debris toward drains, not into them.
Watch out: power washing too close to a fresh patch or a deteriorated edge can blow aggregate loose.
Handling Oil Spots, Grease, and Stubborn Stains
Oil and grease repel sealer. An untreated spot will show through the new coating and break down within months, which is why stain removal comes before any repair work.
Treat stains in this order:
- Scrub the area with a degreaser and a stiff broom.
- Let it sit per the product label, then rinse.
- Repeat on heavy deposits.
- Let the area dry fully and check for a dark, slick residue.
If oil has soaked deep into the asphalt, the surface may stay soft, the affected patch is often cut out and replaced rather than sealed over. For a detailed method, follow our guide to removing oil stains from asphalt parking lots.
Parking Lot Crack Repair Before Sealcoating
Cracks must be filled before sealing, not after. Sealer is too thin to bridge a crack, and any open crack lets water reach the base, where freeze-thaw and traffic widen it fast.
Match the repair to the crack:
- Hairline cracks: clean and fill with a crack filler rated for the width.
- Working cracks up to about a half inch: rout, clean, and fill with hot-pour rubberized sealant.
- Wide or crumbling cracks: clean out loose material and fill in lifts.
Blow or brush out every crack before filling, dust and grit stop the sealant from sticking. Crack sealing also pays for itself by slowing pavement deterioration, covered in our article on the benefits of asphalt crack sealing for businesses.
Pothole Repair and Patching Damaged Sections
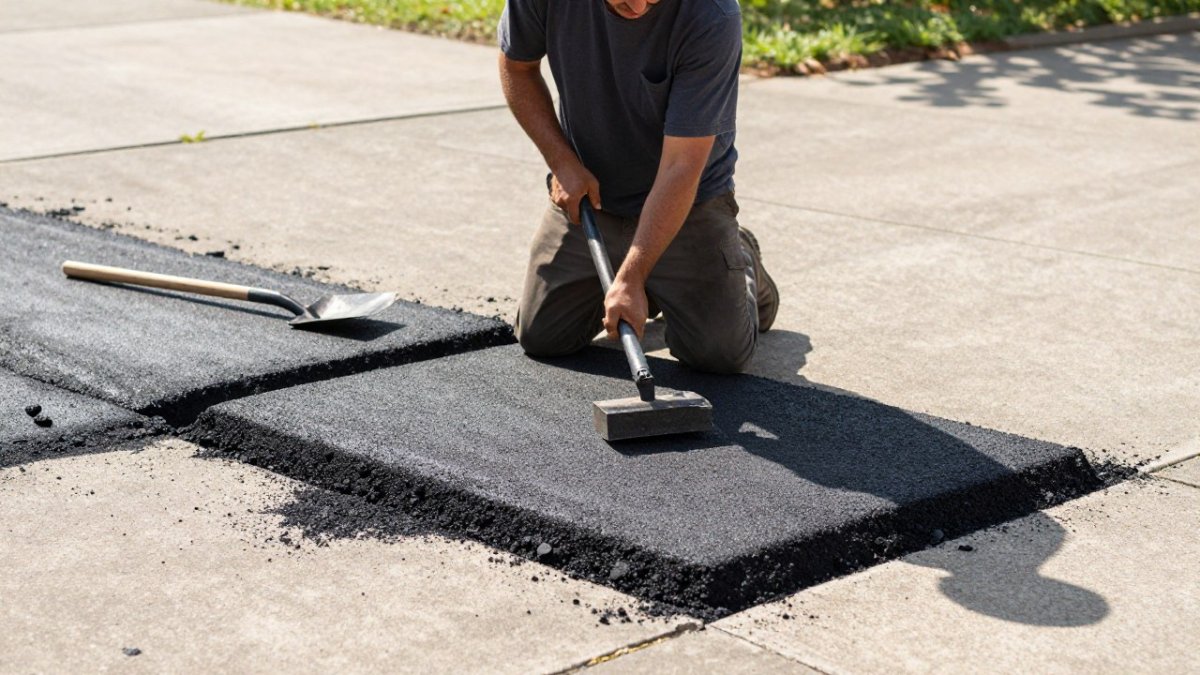
Potholes and broken patches need full-depth repair, not a skim coat. A patch that is not compacted and squared off fails within a season, and sealer over it cracks at the edges.
Follow these steps:
- Cut the damaged area to a square edge with straight sides.
- Remove all loose material down to sound pavement.
- Clean and tack the sides and bottom.
- Fill in lifts and compact each one.
- Level the patch flush with the surrounding surface.
For step-by-step detail, read our guide to asphalt pothole repair. Fresh patches should cure before sealing, so plan the order of work around them.
Protecting Drains, Curbs, and Building Edges
Sealer that reaches a storm drain becomes a pollution problem, and sealer sprayed onto curbs and walls becomes someone's cleanup job. On a commercial lot, protection is a sequence that starts before cleaning and ends after curing.
Call now to schedule your free estimate →
Catch basins and storm drains
Storm drains are the highest-risk feature on the lot. Sealcoat material, sand, and wash water entering a catch basin can be regulated as an illicit discharge under the Clean Water Act's stormwater program. Many municipalities require Best Management Practices (BMPs) near drains, and some require a permit or SWPPP for construction-adjacent activities.
Protect drains in this order:
- Before cleaning: place a sediment filter or geotextile fabric over the grate, or cover the grate with plywood weighted down, so sweeping and washing debris does not enter the basin.
- Before sealing: cover the grate with plywood or heavy plastic and weight it so spray and drip cannot enter. Tape the edges if the cover is not snug.
- After sealing: remove covers only after the sealer has cured enough not to run, and inspect the basin for any material that reached it. Clean out any captured debris.
Check with the local stormwater authority before washing near drains. The EPA stormwater program guidance explains the regulatory framework; local rules can be stricter.
Curbs, concrete, and building edges
Sealer overspray on concrete curbs, sidewalks, and walls is difficult to remove once cured. Mask or shield these surfaces before spraying:
- Curbs and gutters: tape off the top and face of the curb, or shield with cardboard held in place. A shield board moved along the curb as the crew sprays is faster than taping on long runs.
- Concrete sidewalks and islands: cover with plastic sheeting or shield with plywood at the spray line.
- Building edges and door thresholds: mask with plastic sheeting taped at the top and weighted at the bottom. Pay attention to metal door frames and thresholds, which show overspray clearly.
Landscaping and adjacent surfaces
Cover planting beds, turf, and decorative gravel near the pavement edge before spraying. Sealer is not a landscape product, and cleanup from soil and mulch is difficult. Use plastic sheeting weighted with sandbags or lumber, and remove it carefully after curing so you do not drag material onto the fresh surface.
Masking sequence and removal
Masking is not a one-time step. The sequence that works:
- Protect drains before any cleaning or washing.
- Mask curbs, concrete, building edges, and landscaping before sealing begins.
- Keep masked areas masked through application and the initial cure.
- Remove masking only after the sealer has set enough that it will not run or smear, and remove it in a way that lifts material away from the fresh surface rather than dragging it across.
Protection is the cheapest part of the job and the easiest to skip, and on a commercial lot, the part most likely to generate a complaint or regulatory question if done poorly.
Parking Lot Traffic Control During Sealcoating
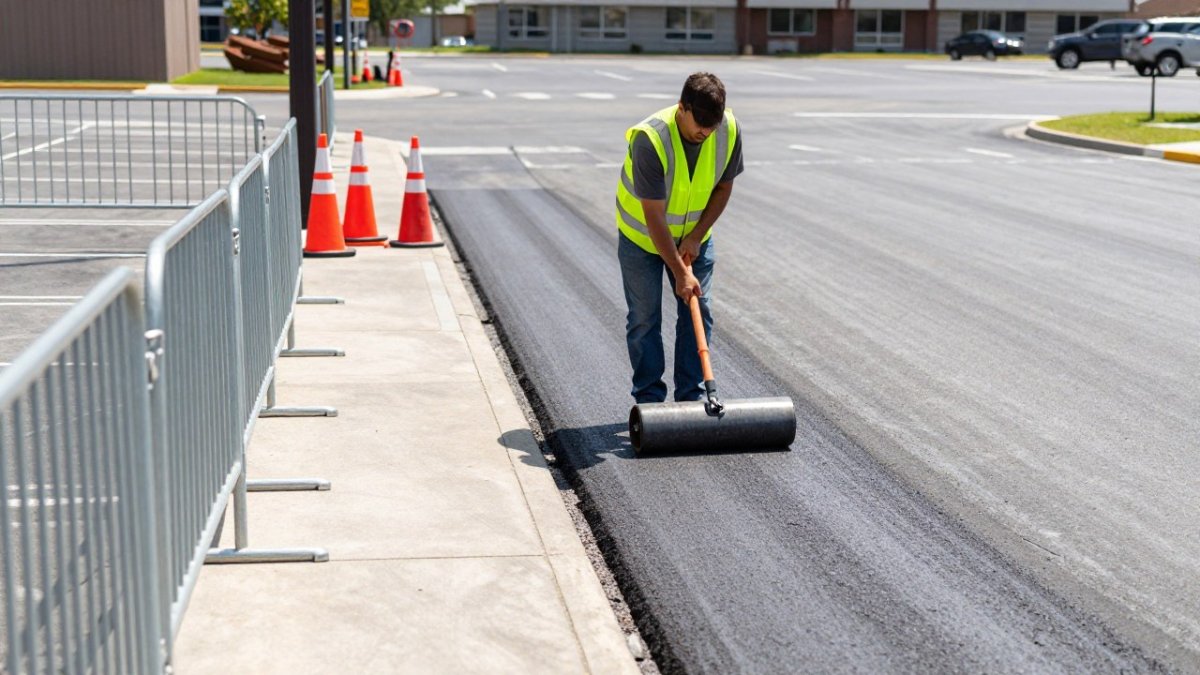
Sealer needs 24 to 48 hours to cure before traffic returns, and that window drives the entire traffic plan. On an occupied commercial lot, a smooth job versus an angry tenant base comes down to how well you phase closures, notify users, and protect accessible routes. Most guides stop at "use cones and barricades", a commercial lot needs a written phasing plan.
Build a phased closure plan
Divide the lot into work sections that can each be closed, sealed, and reopened independently. A common approach is two or three zones separated by drive aisles or islands, so at least one accessible route and a share of parking stay open at all times.
For each zone, document:
- Boundaries: which stalls, aisles, and entrances belong to the zone.
- Closure window: the day and time the zone closes and the earliest reopening time (typically 24 to 48 hours after application, depending on product and weather).
- Detour route: how drivers reach the remaining open parking and the building entrance.
Sequence zones so that heavy-use areas (main entrance, accessible stalls, drop-off zones) are closed during low-traffic periods, such as weekends or overnight, whenever the schedule allows.
Notification timeline
Notify building management, tenants, and regular customers on a schedule, not as an afterthought:
- Two weeks out: send a written notice to property management and major tenants with the overall schedule and zone map.
- Forty-eight to seventy-two hours out: post printed notices at every building entrance, elevator lobby, and mailbox area, and send an email or tenant-portal message naming the zones closing and the reopening time.
- Day before: place signs at lot entrances and at the entrances to each zone that will close.
- Day of: confirm barricades and signage are in place before the crew begins.
Include a contact number on every notice so tenants can report a vehicle that needs to be moved. A single car left in a zone can delay the whole sequence.
Signage and barricades that actually work
- Use rigid barricades or water-filled barriers at every vehicle entrance to a closed zone, not just cones. Cones get moved; barricades with signage are harder to ignore.
- Post "Fresh Sealcoat, Do Not Enter" signs at eye level on both sides of each barricade.
- Tape off pedestrian paths that cross a closed zone and post a detour sign pointing to the open route.
Accessible parking and pedestrian routes
Accessible stalls and the accessible route from parking to the building entrance must remain usable throughout the project. If the accessible stalls in a zone must close, designate temporary accessible stalls in an open zone as close to the entrance as practical, and post signs directing users to them. Keep curb ramps and sidewalks clear; do not stack materials or equipment on accessible routes.
Coordinate with deliveries and waste haulers
Trash pickup, deliveries, and service vehicles run on fixed schedules. Confirm those before finalizing zone closures, and either shift the closure window or arrange a temporary staging area. A dumpster that cannot be reached on pickup day creates a complaint that outlasts the sealcoat.
A written traffic control plan, notification calendar, and barricade layout sketch take an hour to prepare and prevent most problems that turn a sealcoating project into a tenant relations issue.
What to Check Before the Sealer Goes Down
A short readiness check saves a full redo. Run through it before the tank is opened:
| Check | Pass Standard | Why It Matters |
|---|---|---|
| Surface is dry | No damp patches | Wet pavement blisters the coating |
| Cracks are filled | Filler cured, flush | Open cracks let water in |
| Patches are compacted | Flush with surface | High or soft patches fail |
| Stains are treated | No slick residue | Untreated oil repels sealer |
| Edges are masked | Drains, curbs covered | Runoff and overspray damage |
| Weather window | No rain for 24 hours | Rain ruins an uncured coat |
If any row fails, fix it before you start. For the full picture of what sealing costs and whether it pays off, read is professional parking lot sealcoating worth it.
Frequently Asked Questions
How clean does asphalt need to be before sealcoating?
Cleaner than most people expect. Sealcoating bonds to the pavement surface, so any dirt, dust, oil, vegetation, or loose gravel sitting between the sealer and the asphalt weakens the bond and can cause peeling or lap marks. Sweep or blow the entire lot, then power wash heavily soiled areas and let the surface dry completely. A good rule: if you can wipe the surface with a dark cloth and it comes up dirty, it needs more cleaning before sealer goes down.
Should cracks and potholes be repaired before sealcoating?
Yes, always. Parking lot crack repair before sealcoating is not optional: sealer is a thin protective coating, not a structural filler, so it will not bridge open cracks or level potholes. Clean and fill cracks first, patch potholes with proper asphalt patch material, and let repairs cure per the product instructions. Sealcoating over unrepaired damage traps moisture and lets the failure spread, which shortens pavement life instead of extending it.
How long should a parking lot stay closed before sealcoating traffic returns?
Plan for 24 to 48 hours of closure in most conditions, and longer in cool or humid weather. Sealcoating drying time depends on temperature, sun exposure, humidity, and how thick the application is. Block off the area with cones, barricades, or tape and post signs at every entrance so drivers do not cut through. Walking on the surface too early can leave marks just as easily as driving on it, so keep foot traffic off as well.
Can you sealcoat a parking lot that has oil stains?
You can, but the stains must be treated first. Oil and grease stop sealer from bonding, so scrubbing with a degreaser, rinsing, and letting the area dry fully is part of surface preparation. Deep, old contamination sometimes needs repeated treatment or a primer coat. If the oil has softened the asphalt itself, that section may need patching rather than sealing. Handling oil spots properly is one of the most common reasons a sealcoat job fails early.
Preparing a lot properly is the difference between a coating that lasts and one that peels within a year. If you would rather hand the job to a crew that inspects first and repairs before sealing, Houston Pavement Repair LLC offers expert asphalt paving and repair for commercial and residential properties, with a free estimate and reliable scheduling. Get started with Houston Pavement Repair LLC and protect your pavement before the next rainy season.